
Slackline – Setup

First off, you can pick up discounted slacklines from The Clymb. They change their inventory constantly, so if you don’t see slacklines now, just keeping checking back.
Also, thanks to Frankie Najera of Gibbon Slacklines, who has posted up tons of tutorials already. Check out all his ‘Trick in a Minute’ videos here. These helped me out a lot when I first started.
Alright, onto the tutorial!
—–
I have several slacklines, but the one you’ll see in this tutorial is a 2″ Gibbon Classic line. It’s got a ratchet system, which makes it easy to set up with one person, and its characteristics make it a good line to start off with.
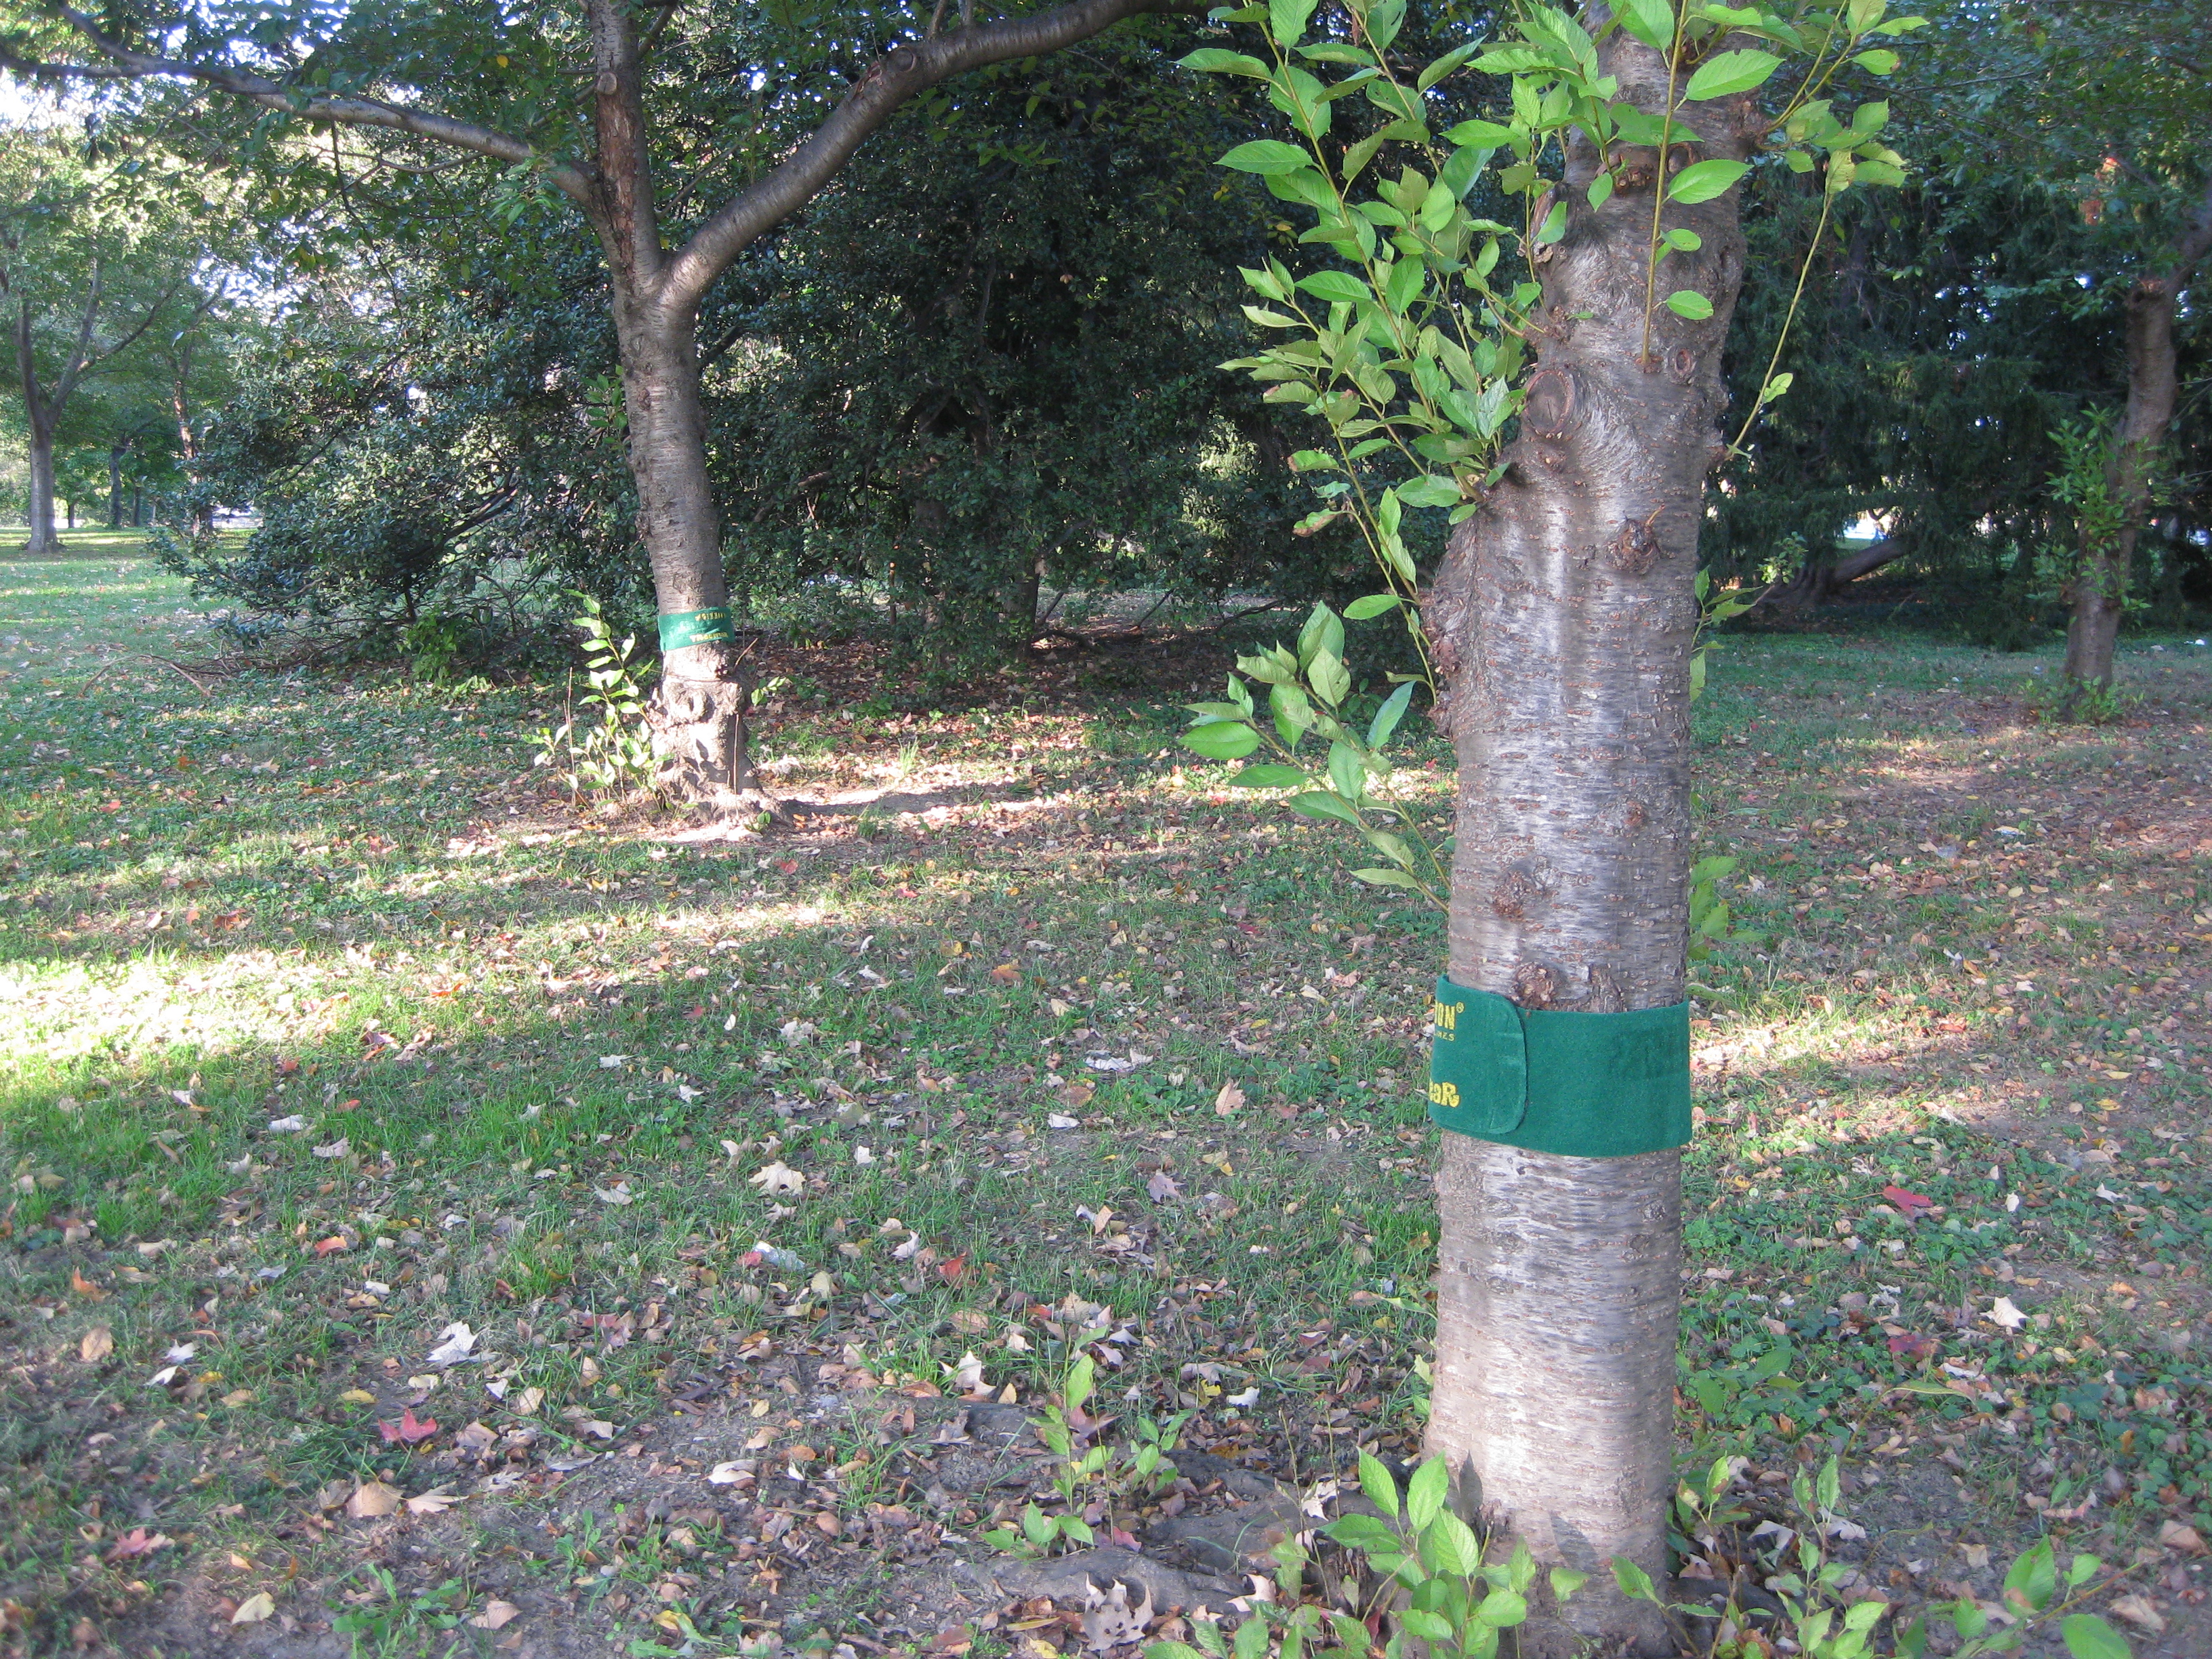
Alright, first thing to do is find two anchors. I love slacklining outside, so two trees do the job. We are looking to make sure they are at least 12 inches in diameter, in order to support the line and have no risk of breaking.
You will soon find what type of set-up you like, but generally speaking you’d want two trees that:
– on level ground (you can set-up a line at an angle, but let’s keep it simple now)
– far enough apart (farther or closer with give the line a different feel)
– over grass or softer ground, not mud/rocks/stuff you wouldn’t want to walk on barefoot (doesn’t feel good to walk around on, and I don’t like stomping mud into my line)
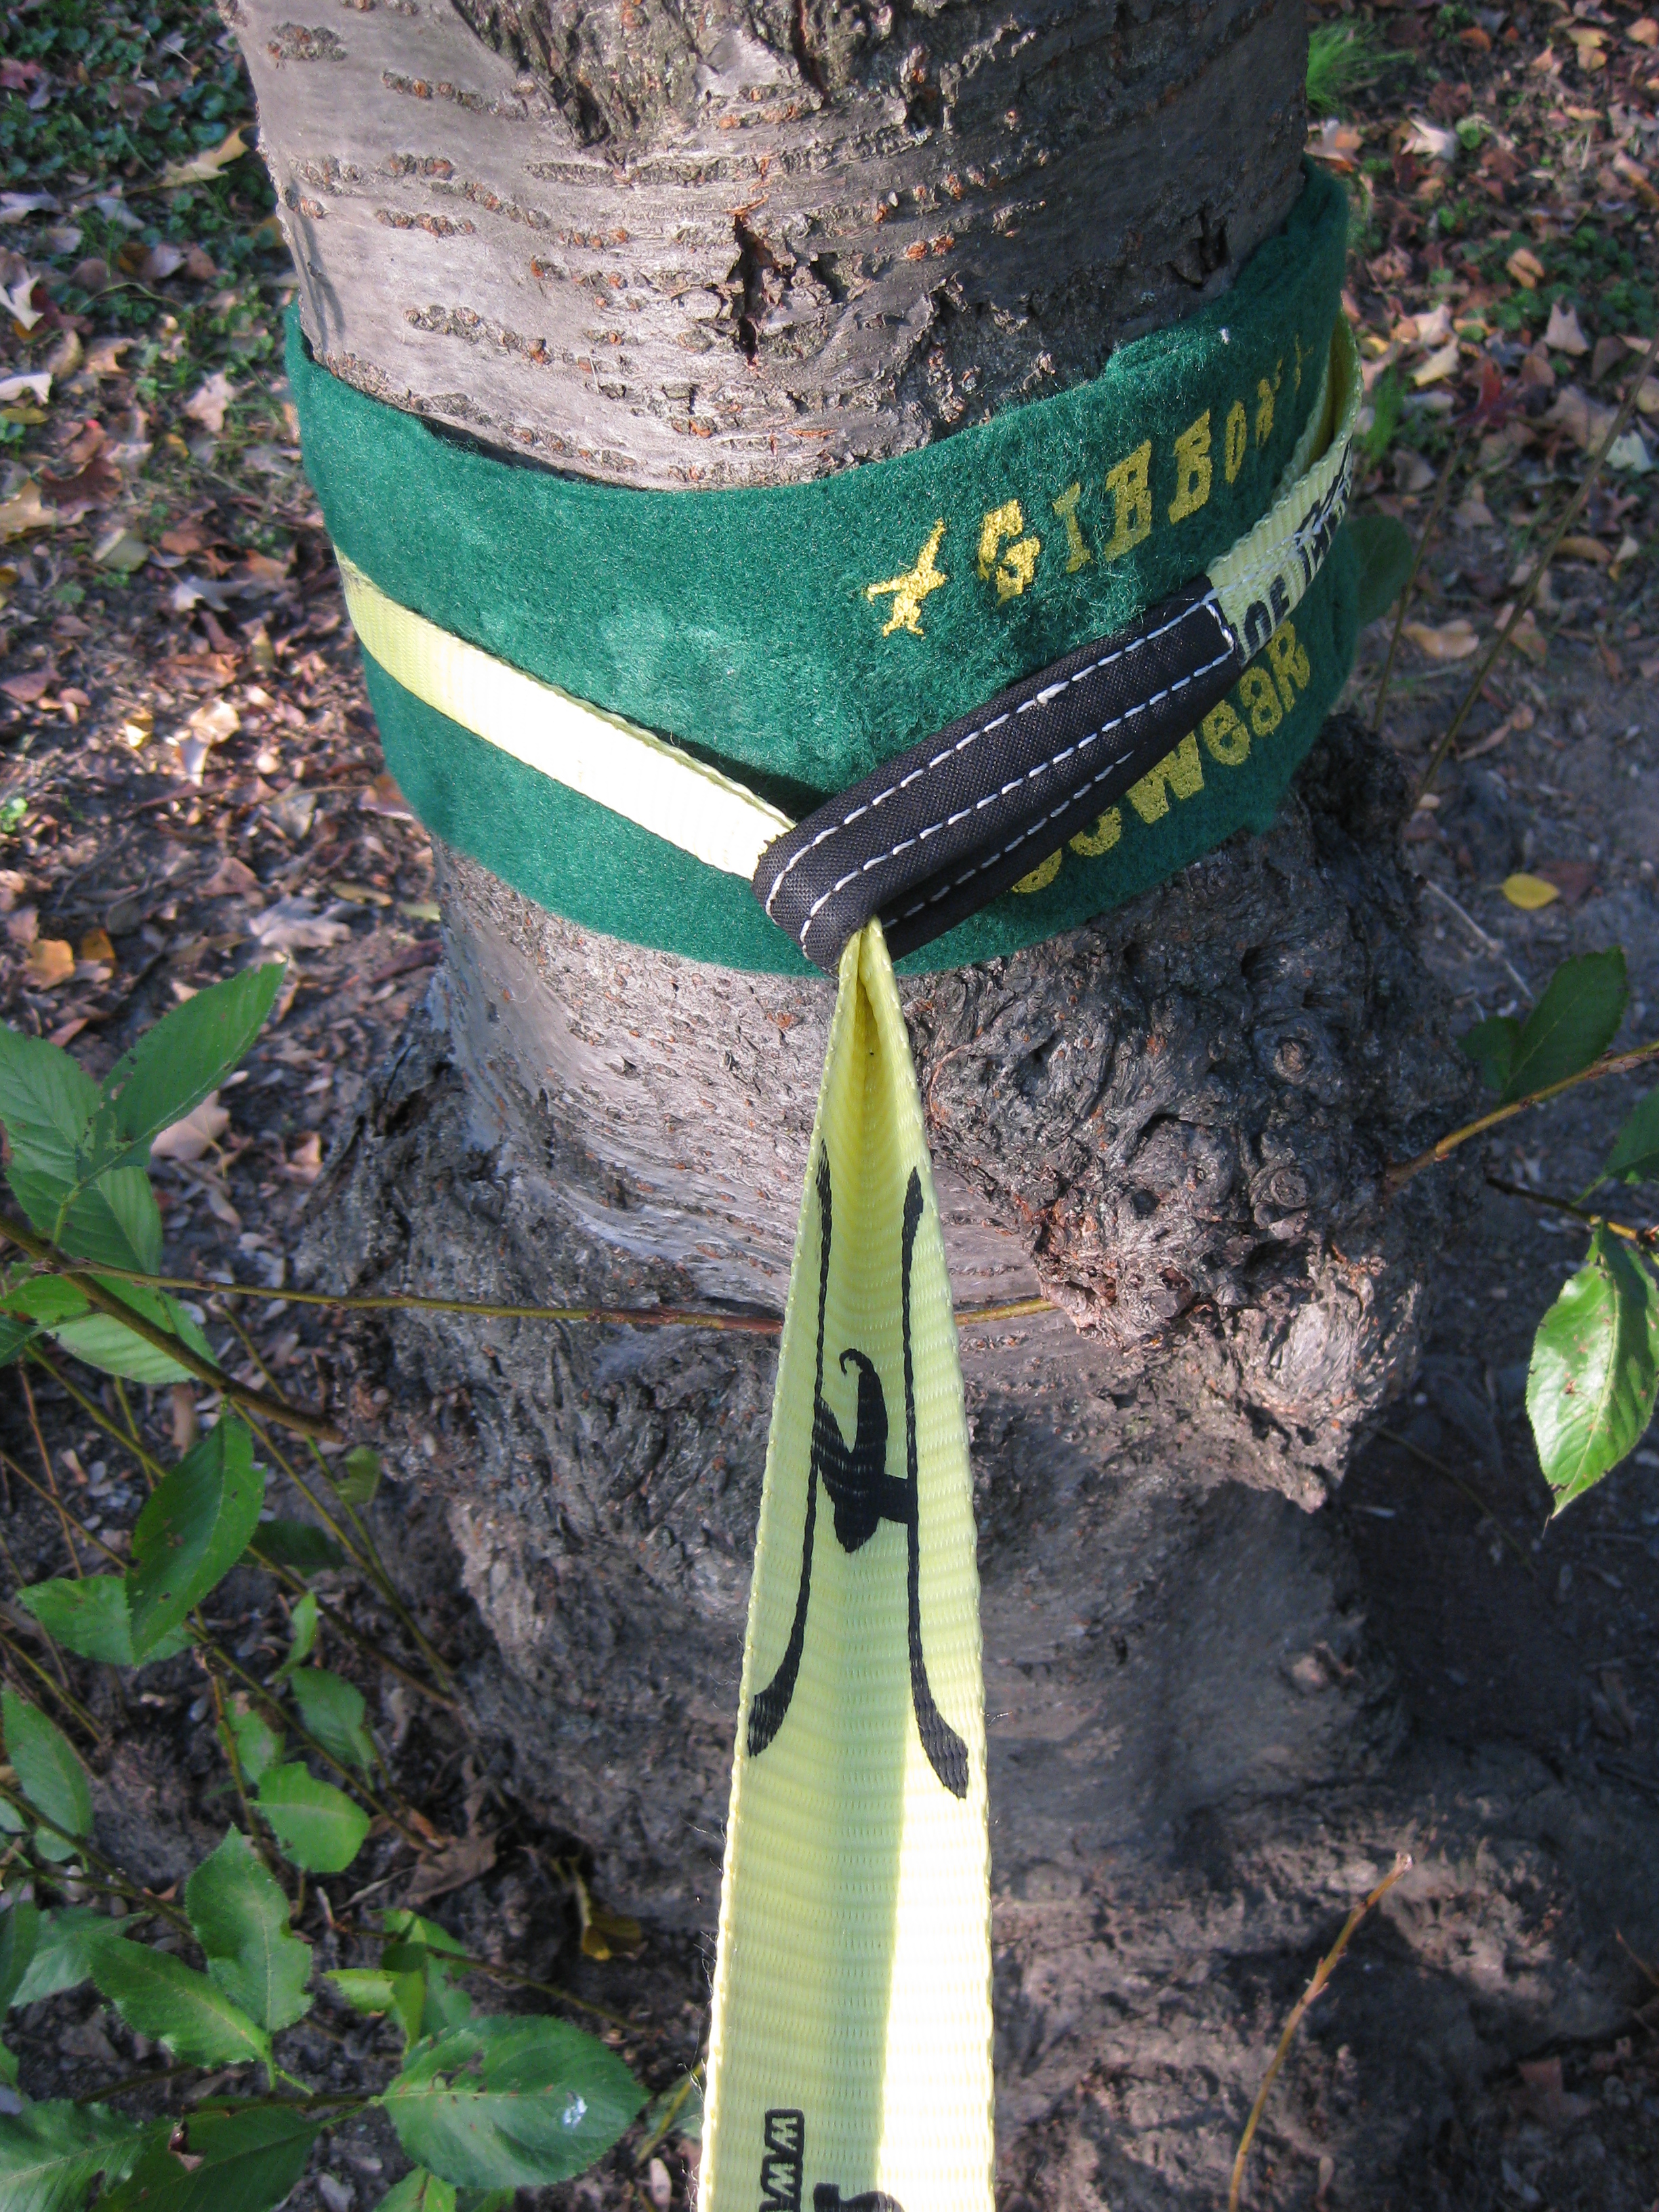
After you find your trees, you’ll want to wrap them in something to protect both the trees and your line.
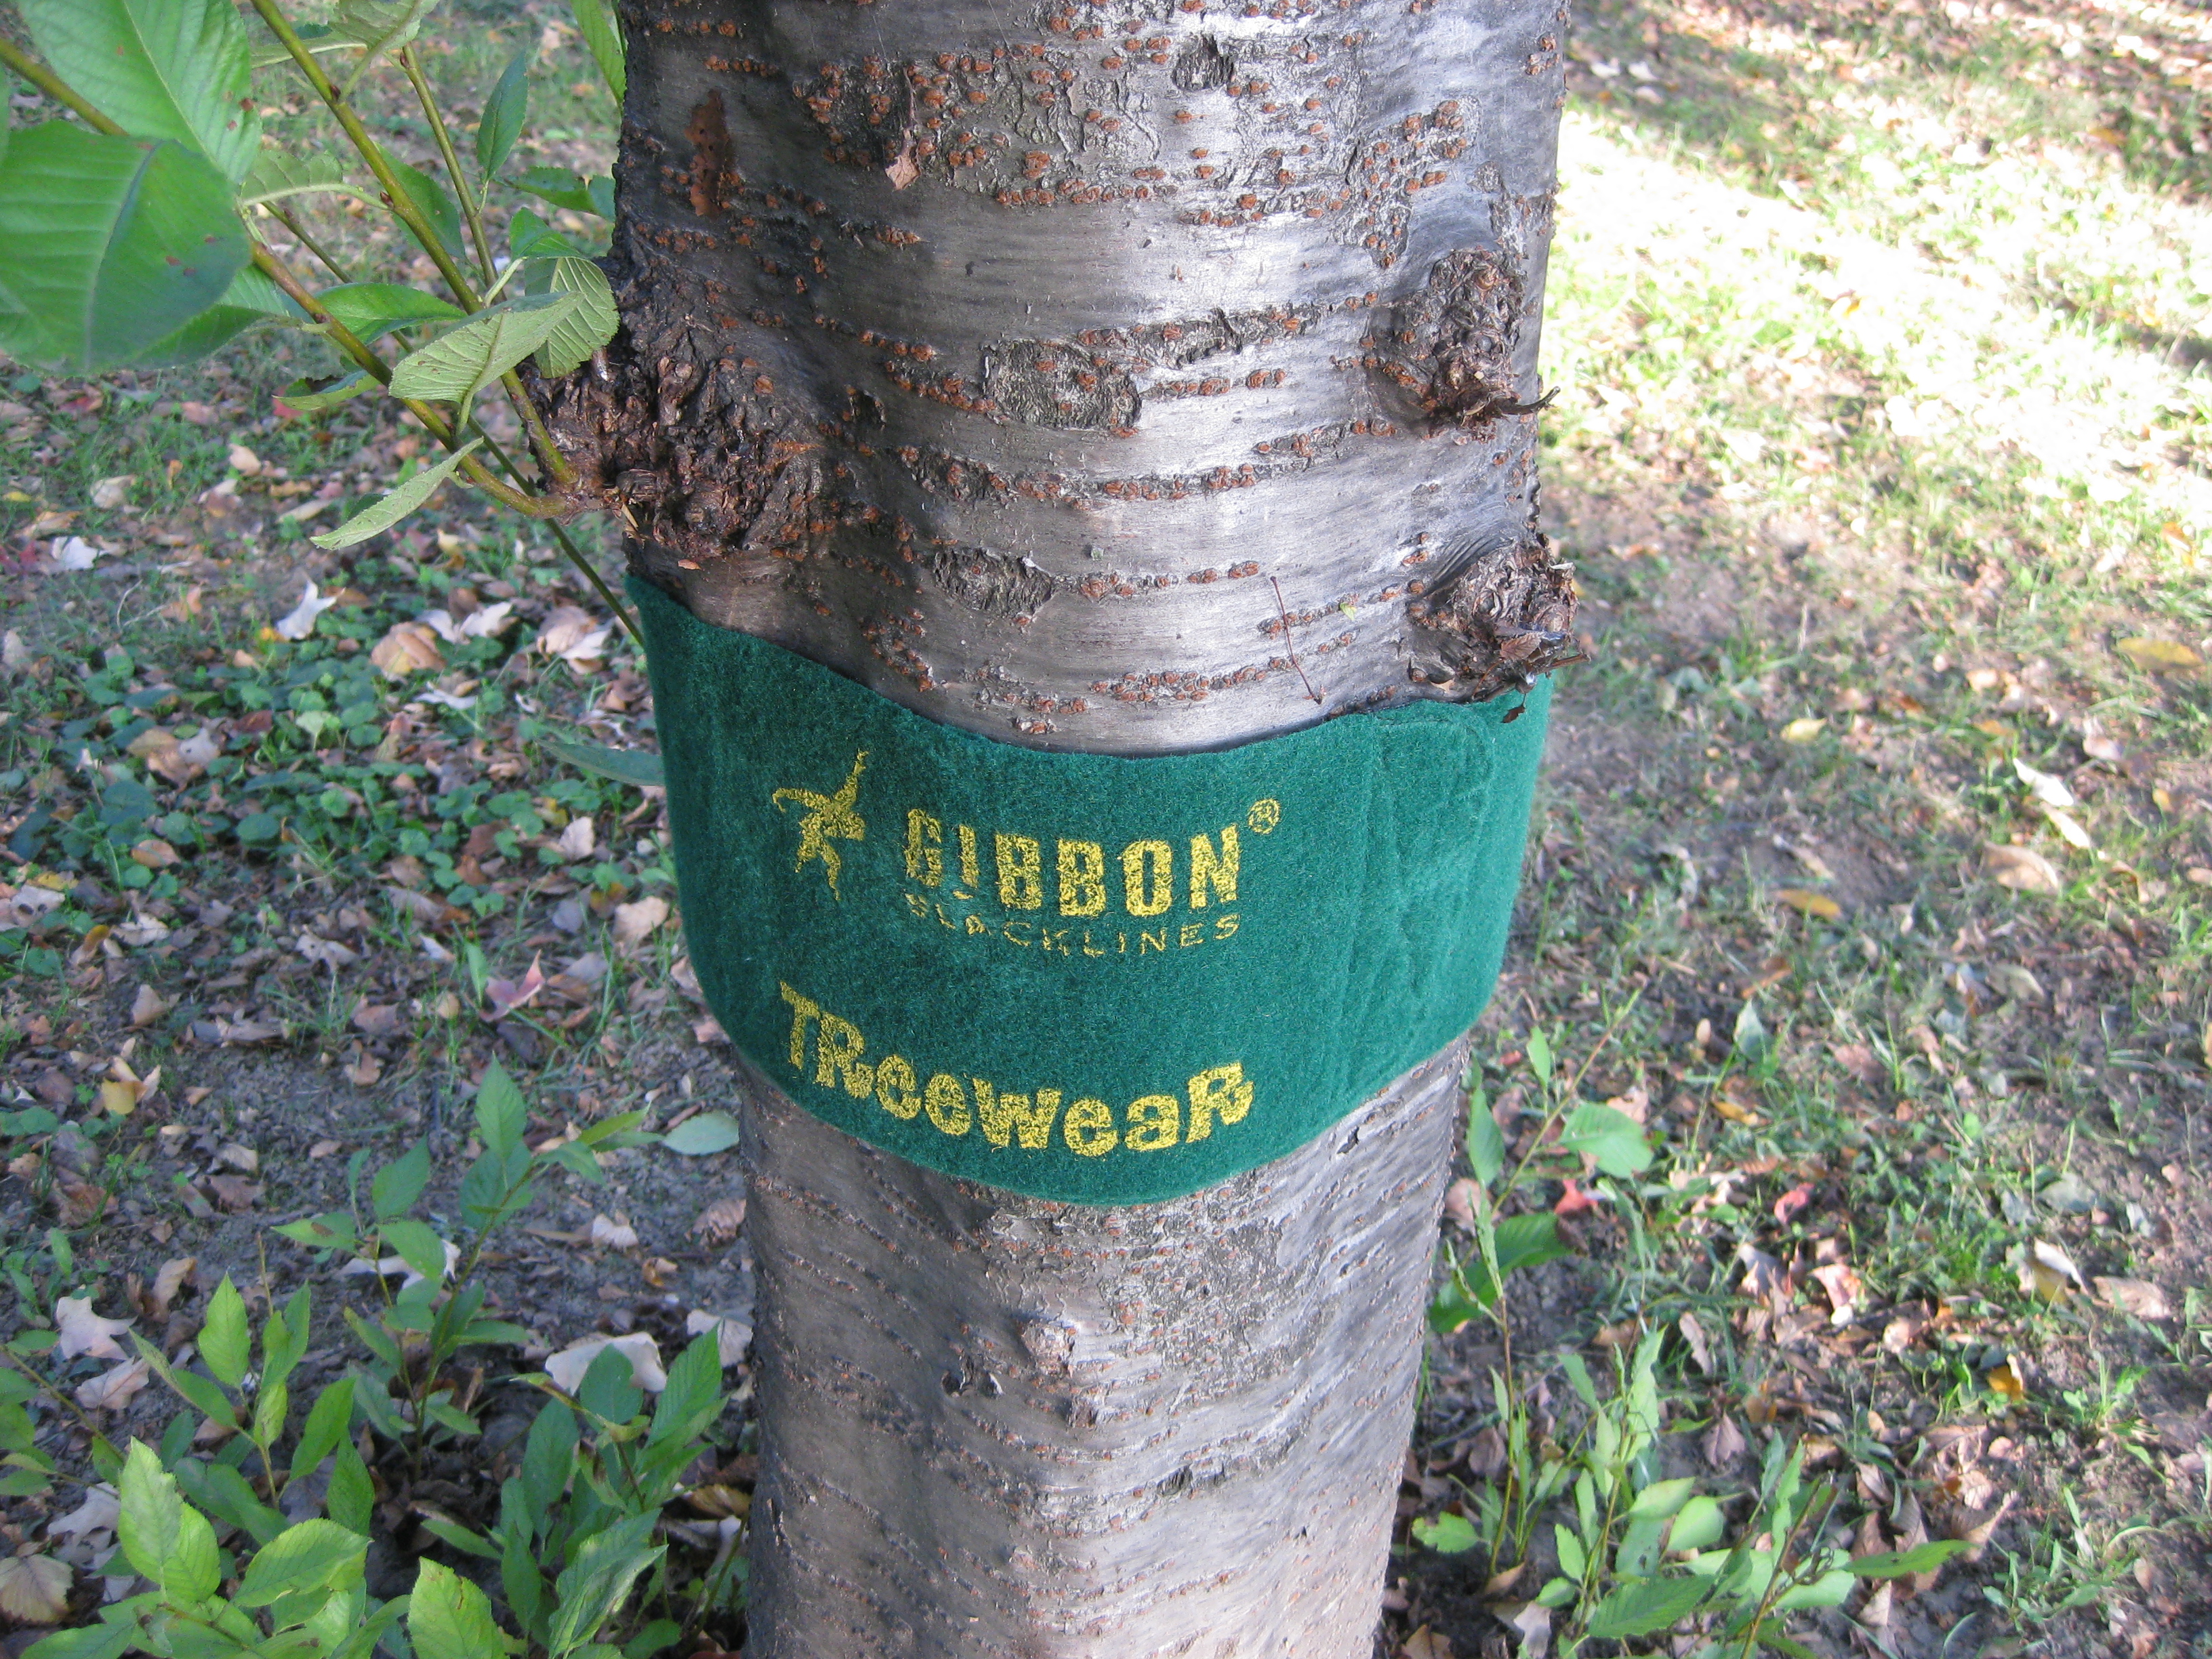
In this picture, you see some treewraps that Gibbon sells. They’re like a wide strip of tough carpet with velcro to secure them. You do not need to get these, but they are handy. I used cardboard and duct tape for the first several months that I slacklined. I have seen people use tea towels as well. Just have SOMETHING between the line and the tree.
After the wraps are up, I will set-up the ratchet on one of the trees. Generally speaking, I will set it up on the thinner of the two trees, as the straps connected to the ratchet can only go so far.
I put the strap around the tree and the ratchet through the reinforced loop.
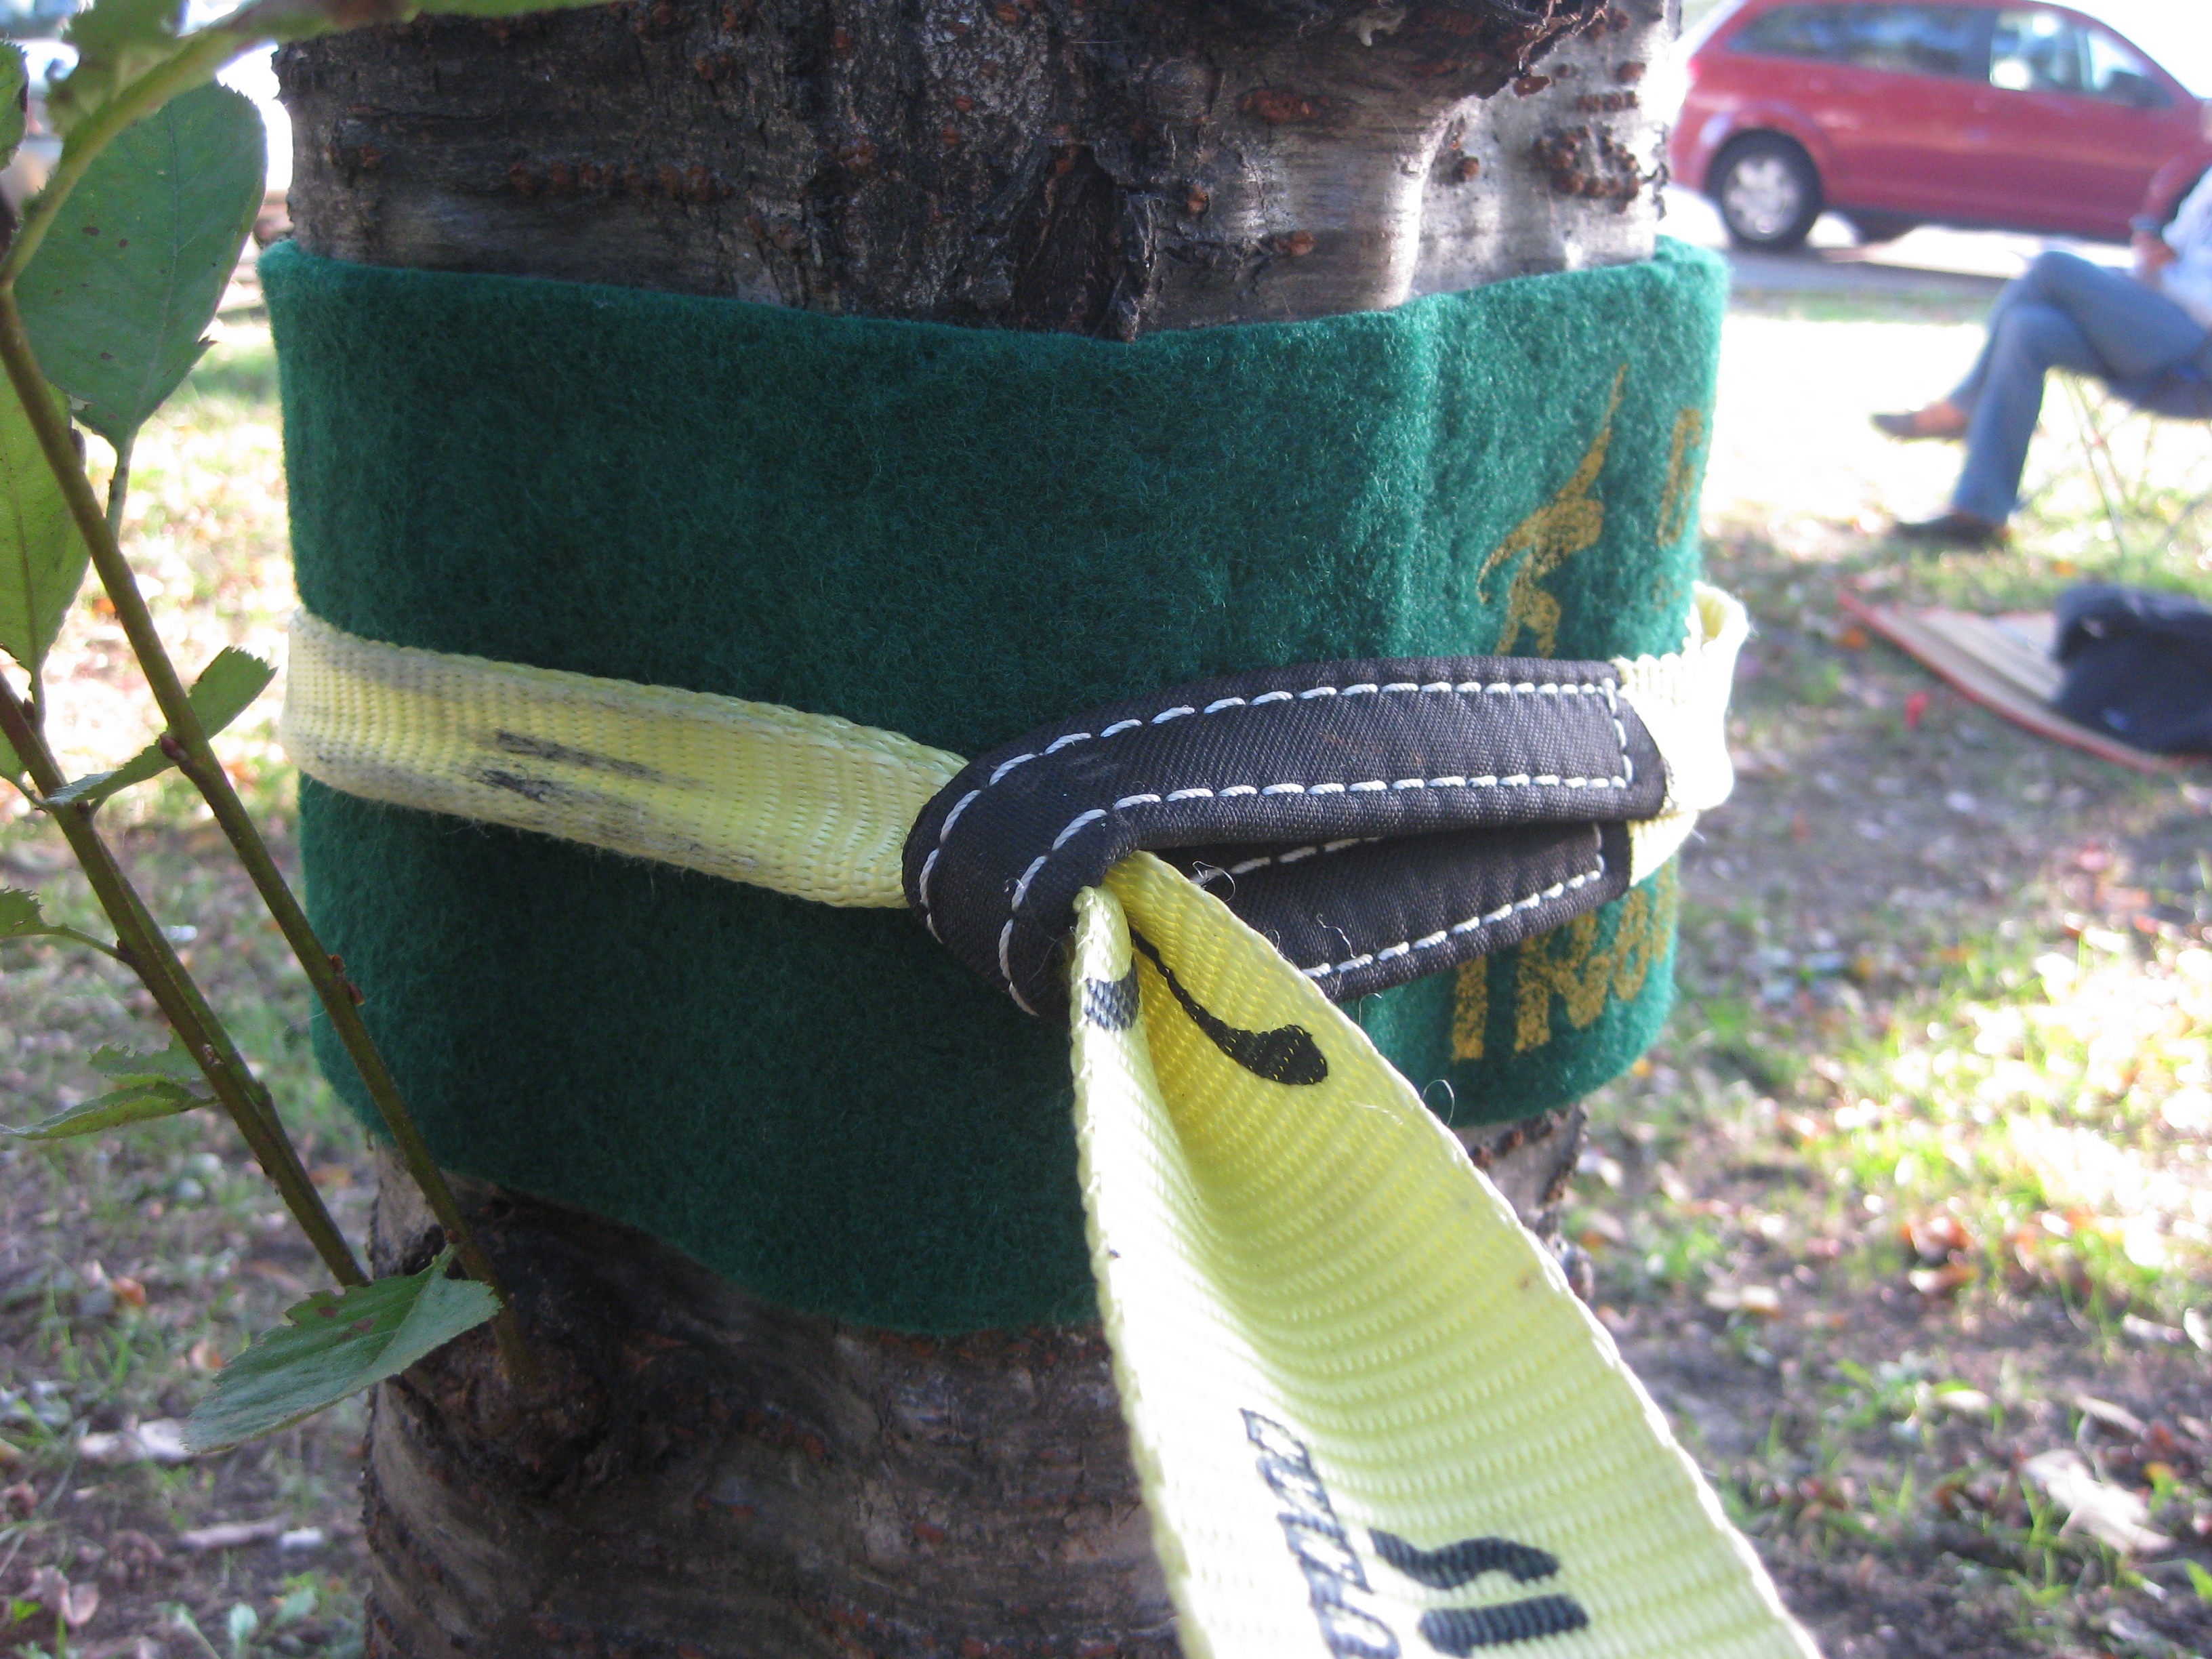
After you have looped it around the tree, you will see in the picture above that I have folded the line in half, like a “V”. I will continue this fold around the side of the tree, with no other additional twists in the line.
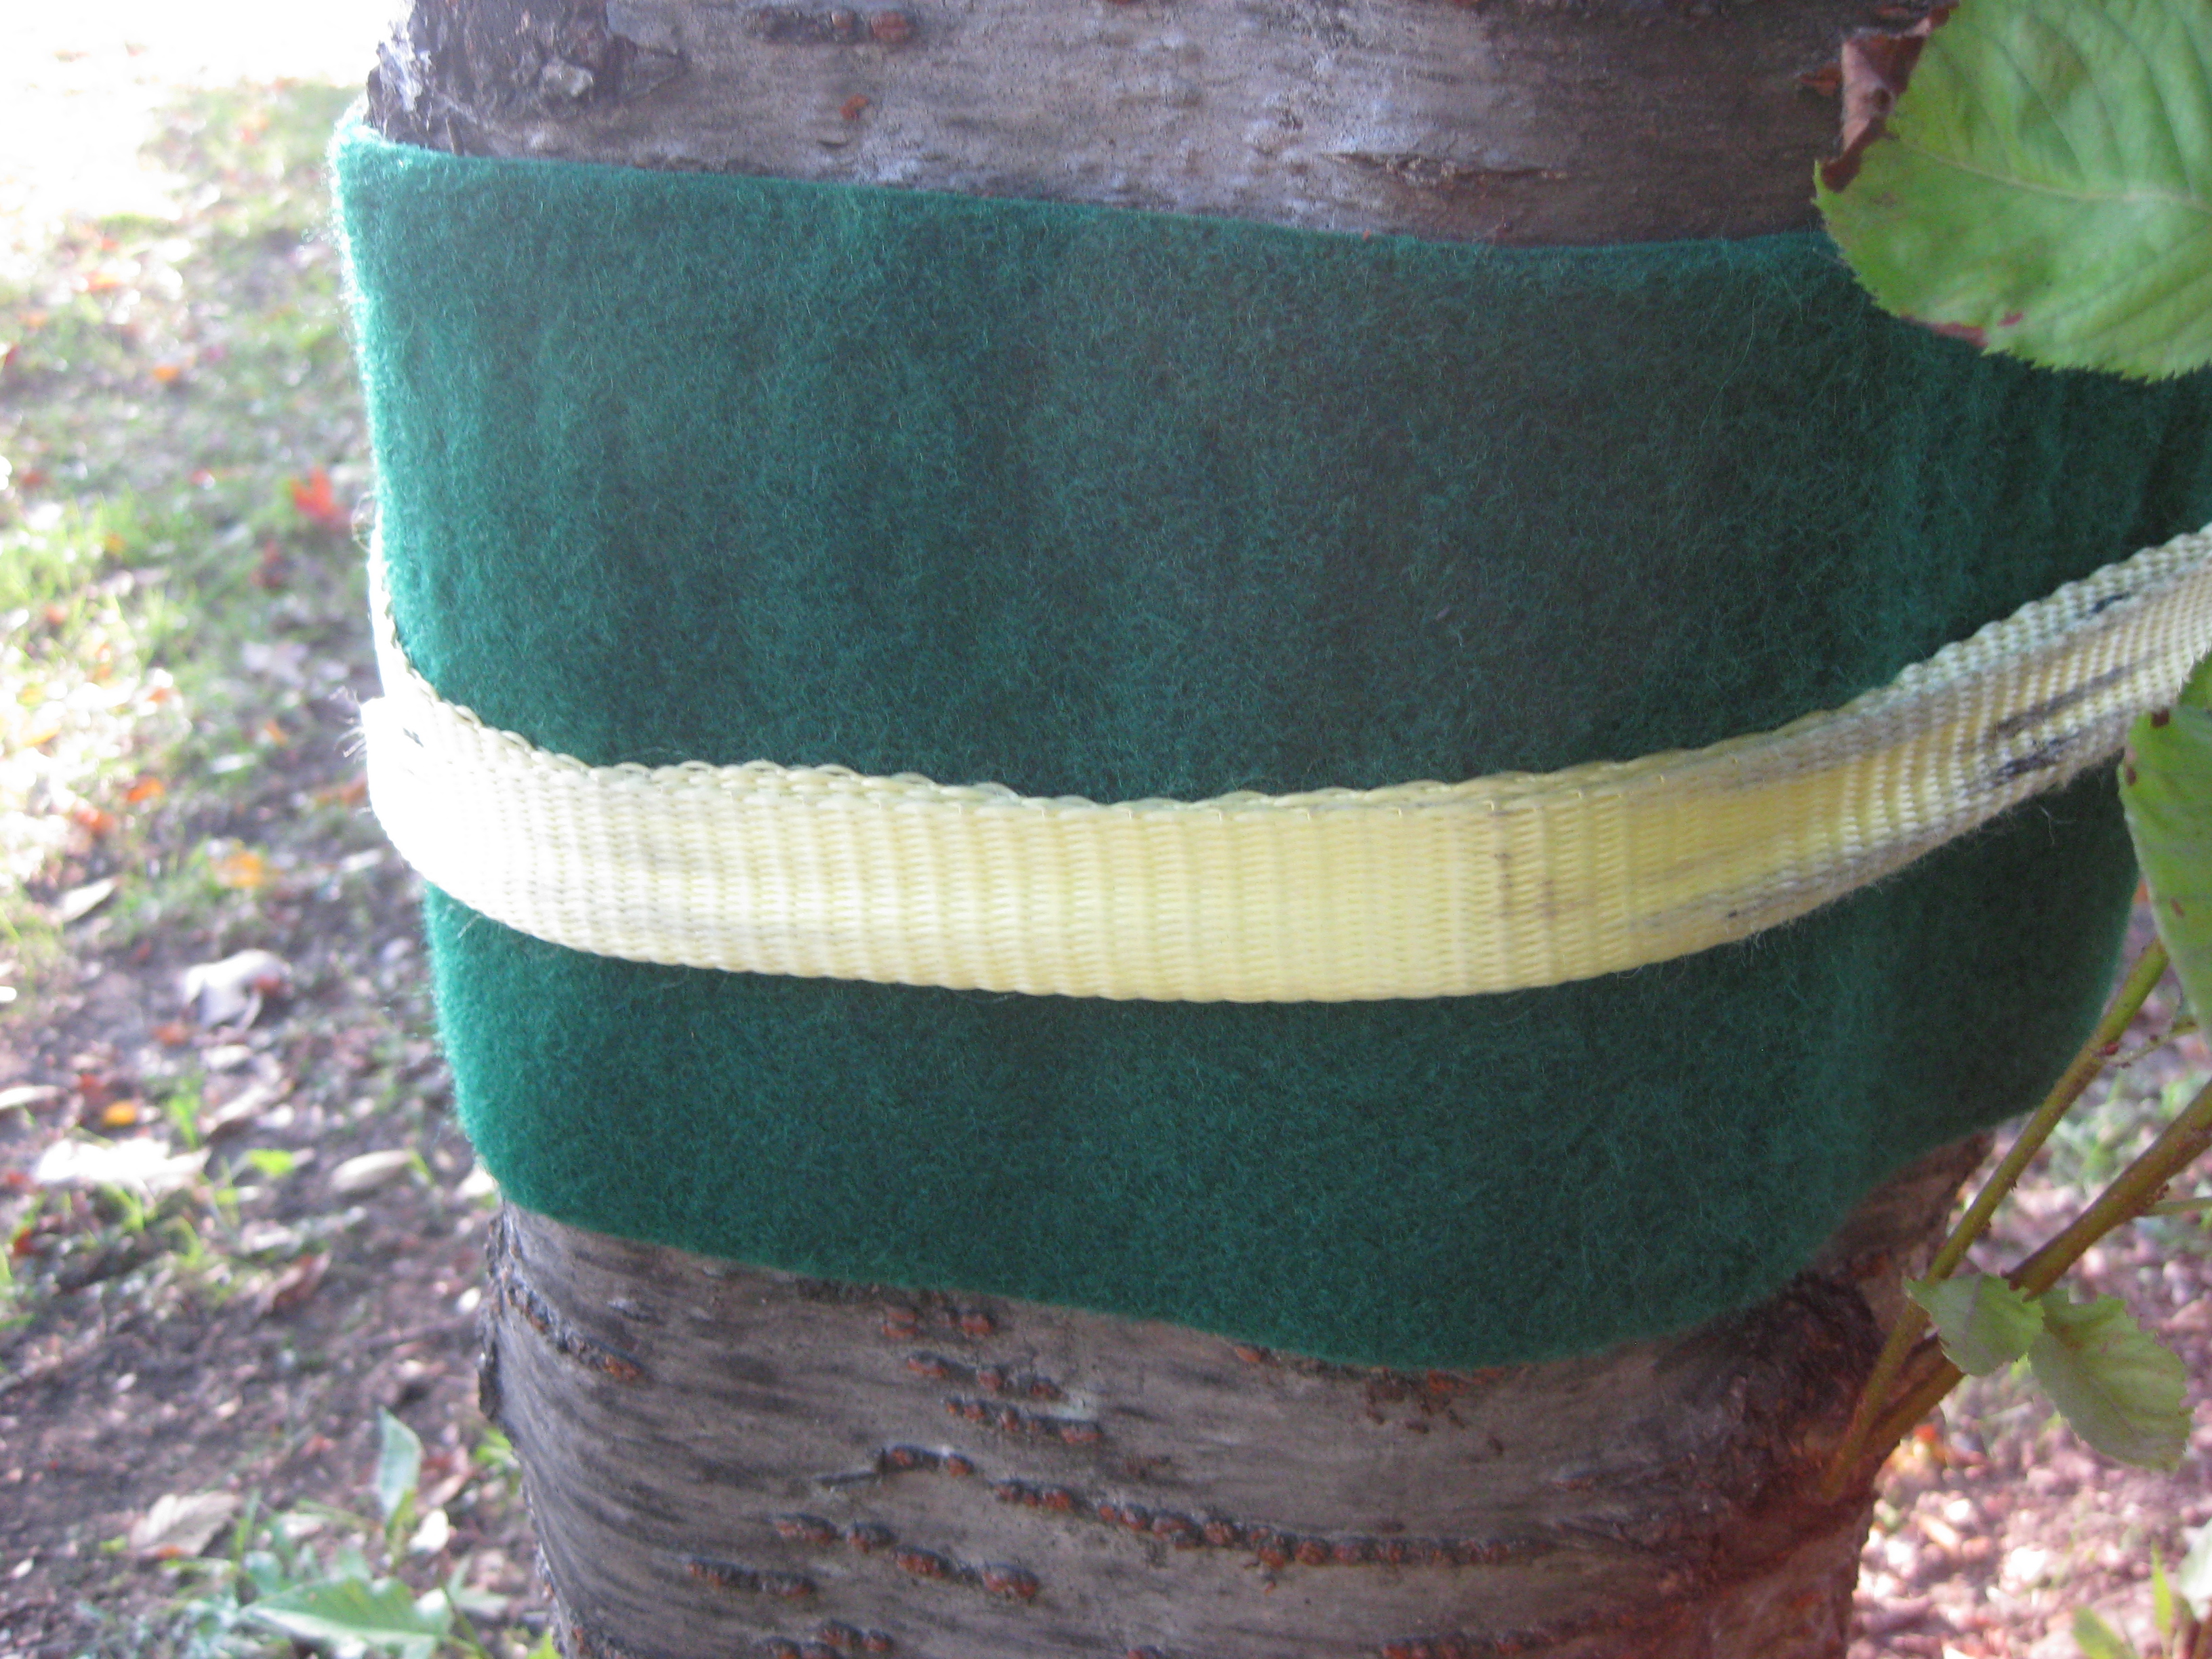
This “V” fold makes sure the line lays flat, instead of sideways to the ground. You will also note that you should put the line so that the ratchet handle is on the underside of the line, this prevents the line from twisting as well.

Once you have the ratchet side set, then do the same thing on the other tree with the longer line.
It’s at this point in which I’ll also look to center the line on the tree. Notice the “V” fold again.
As you unroll the longer line to take it to the ratchet, make sure that you keep the line flat and don’t twist it.
Take the end of the long line and feed it through your ratchet system from the top down.
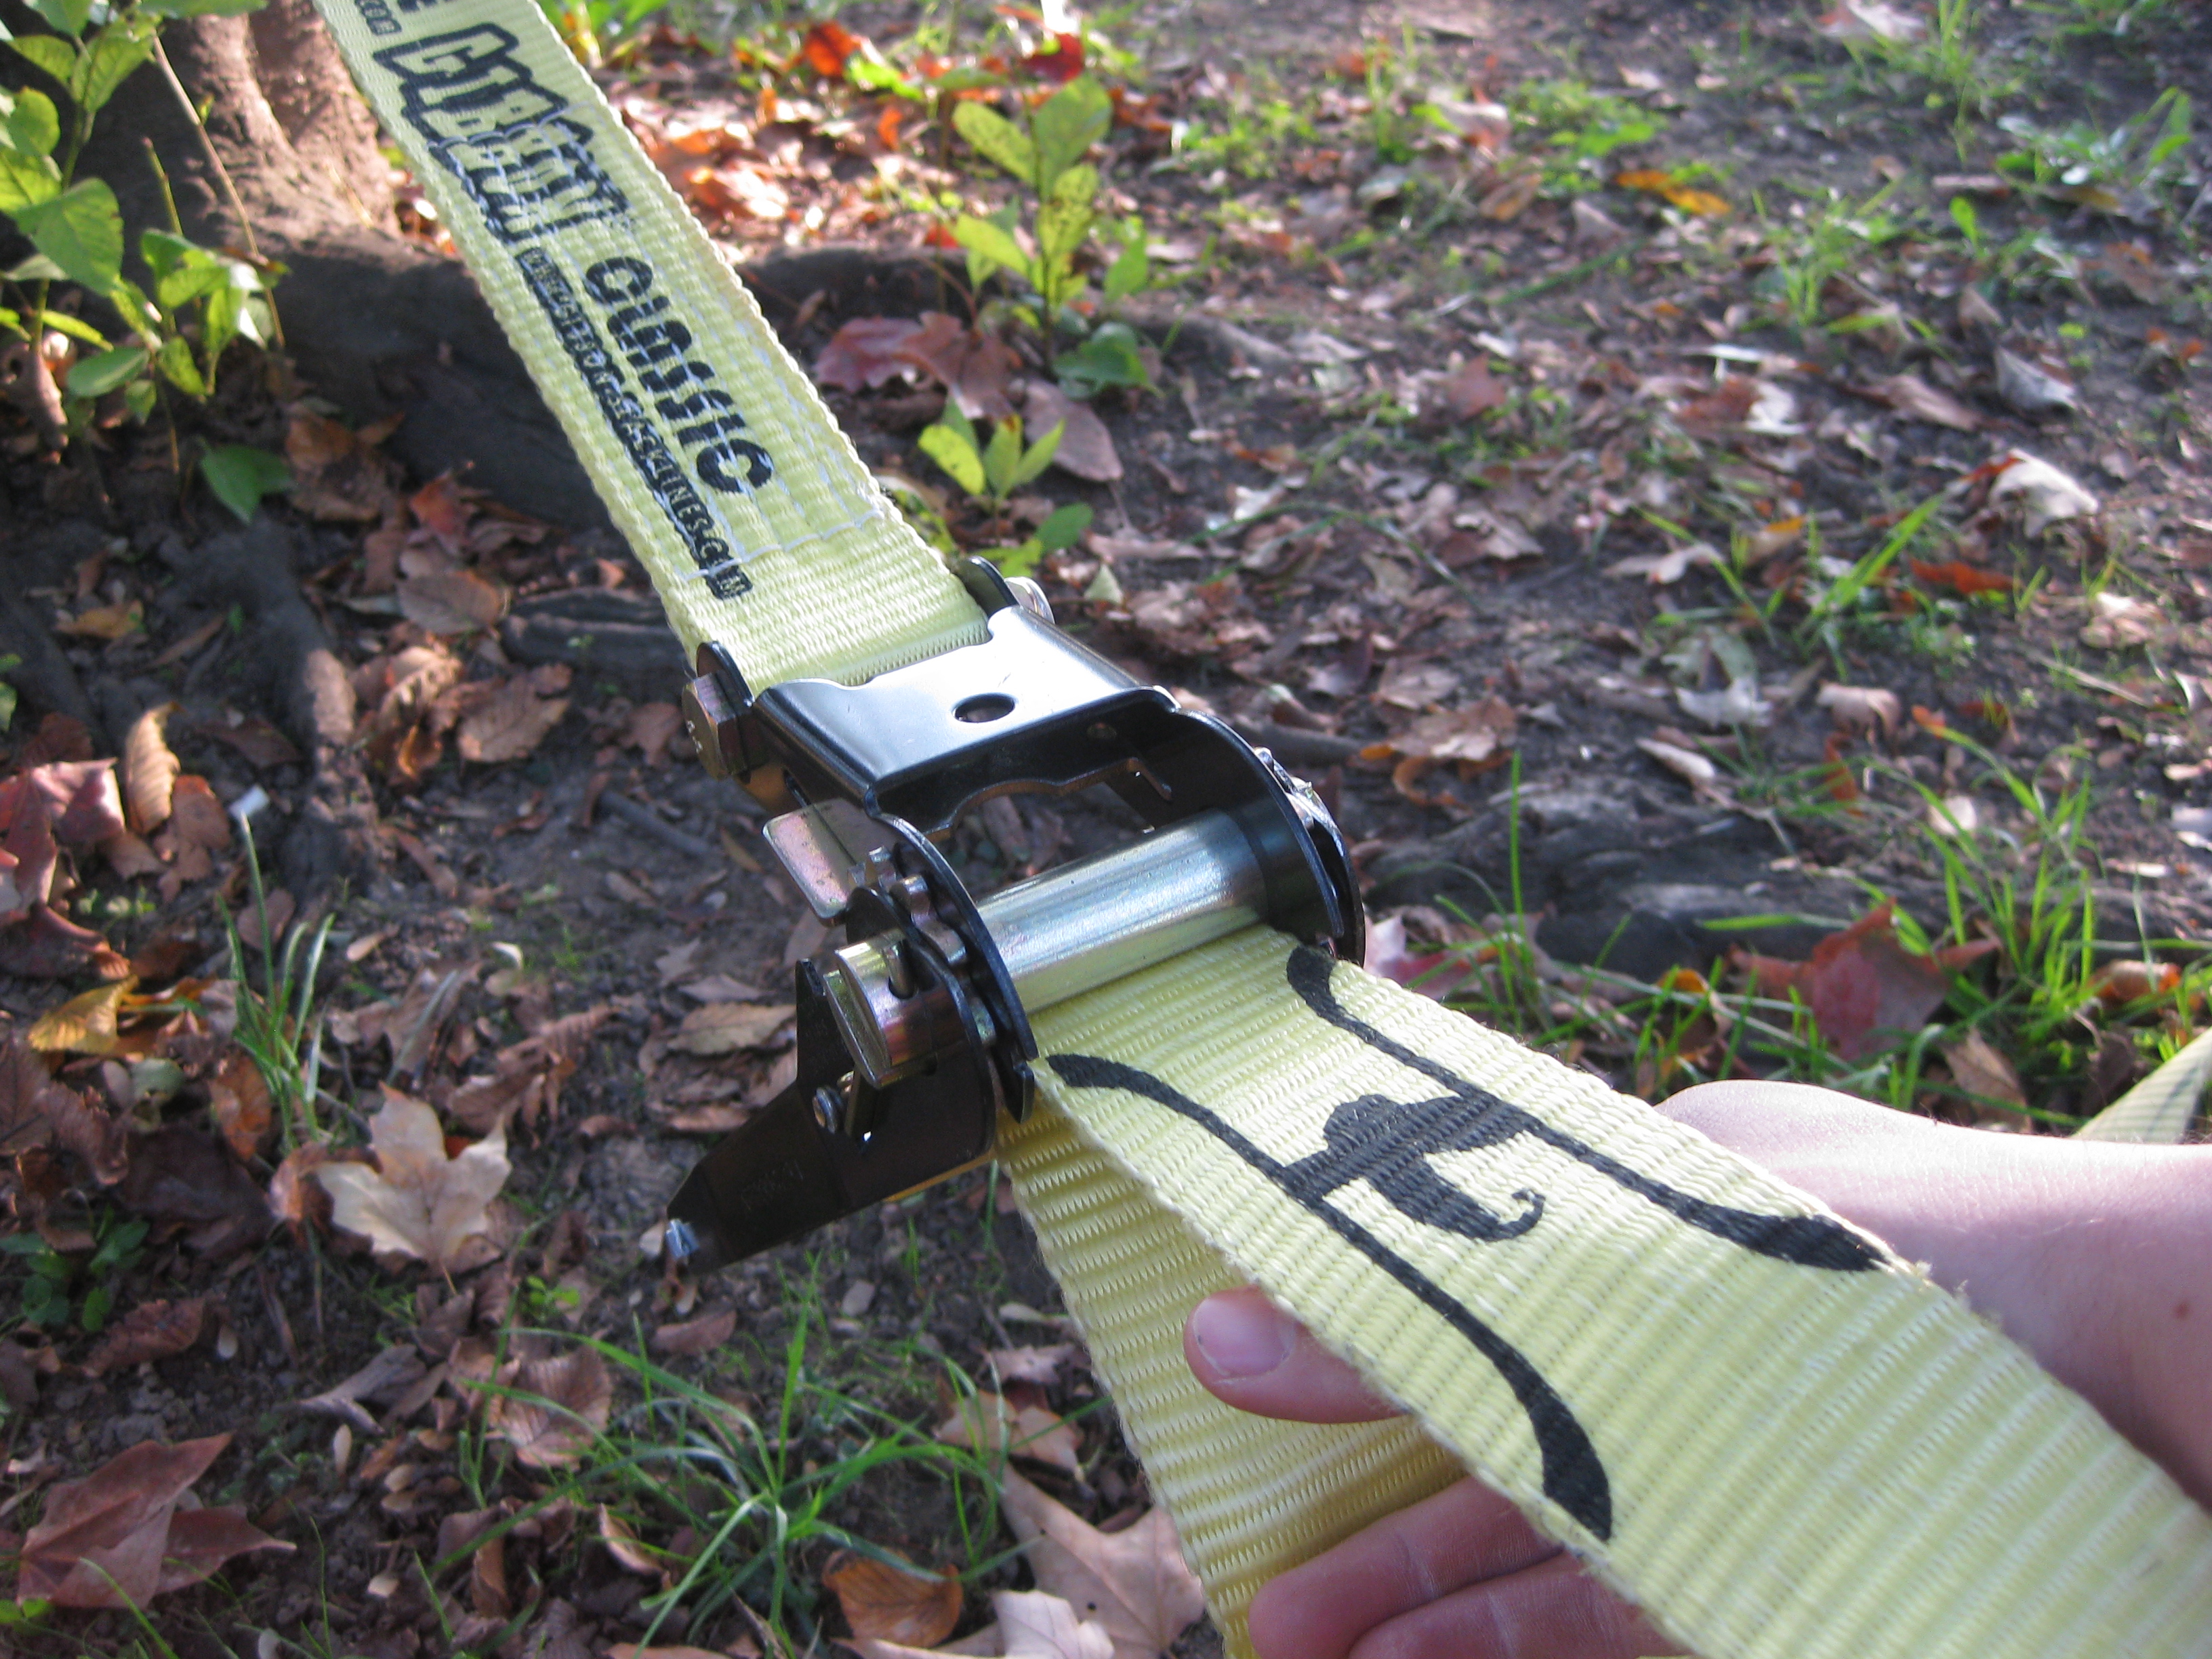
So the part you will walk on is on top, the extra line at the bottom.
Another shot –
Pull all the extra line through the ratchet, and then take as much slack out of the line as you can.
Taking the slack out, before you ratchet the line, ensures that you’ll have enough tension to stand on it.
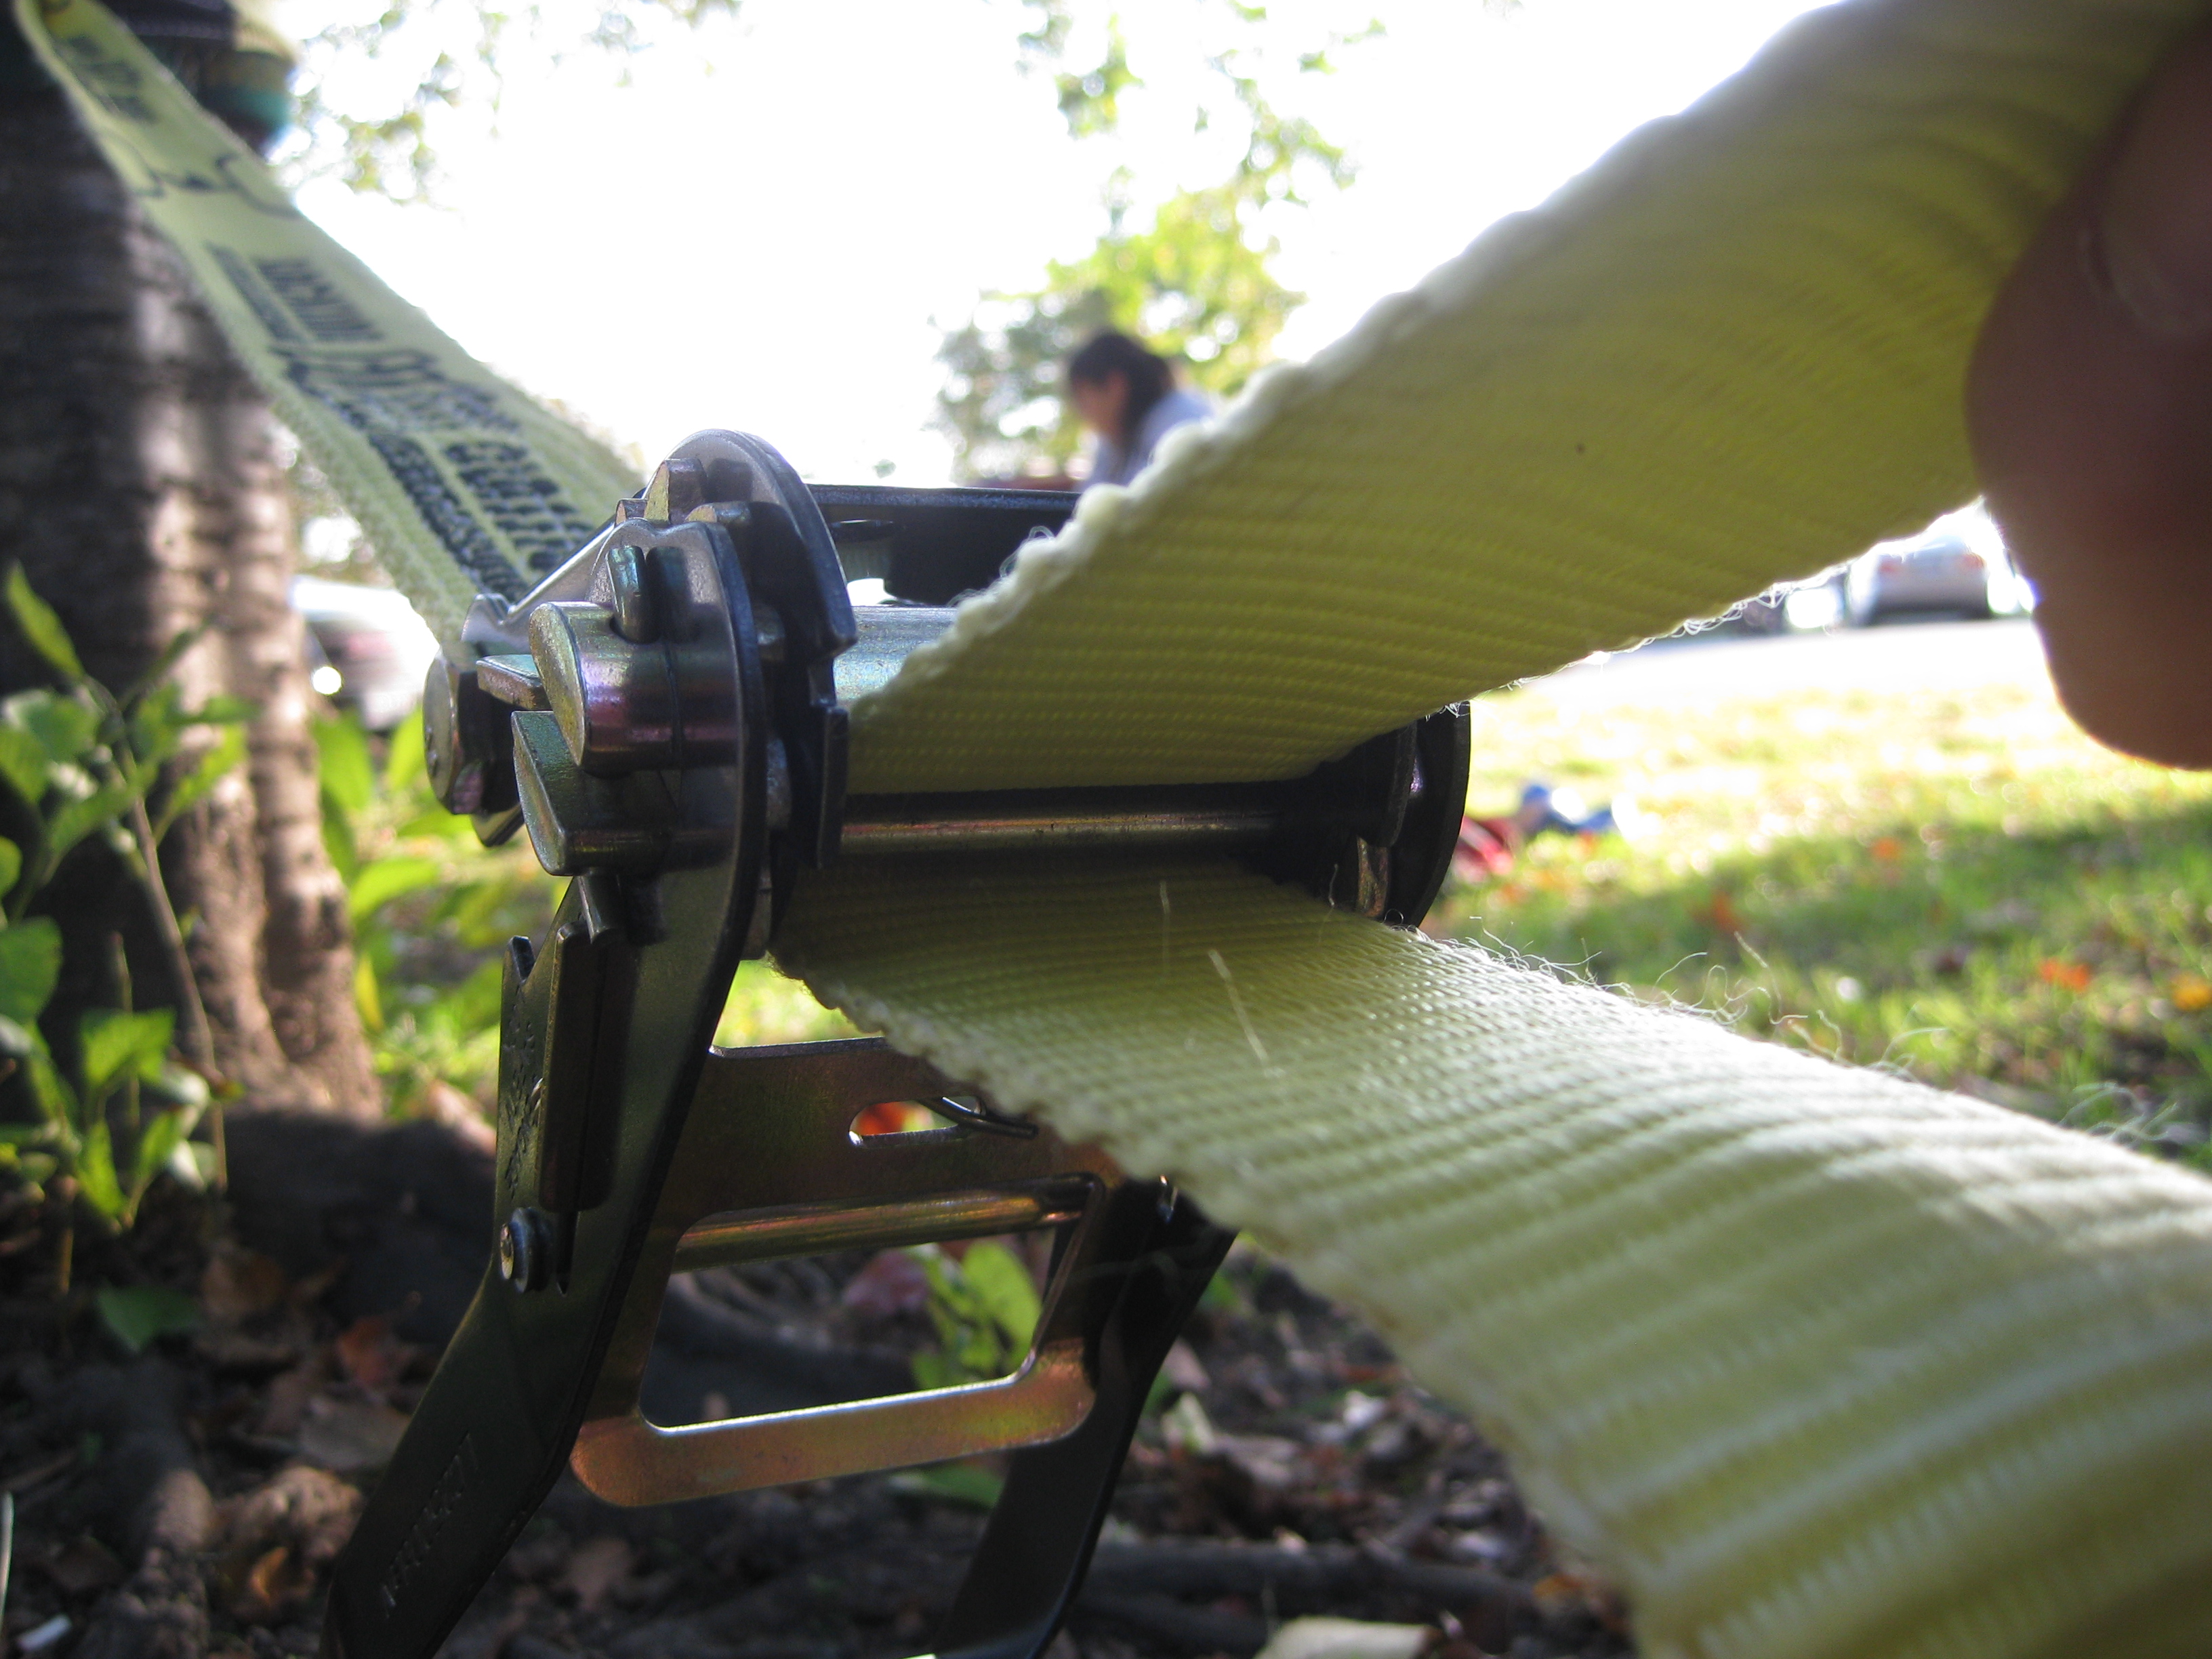
Once all the slack is out, then grab the handle and start ratcheting. I like to continue using my other hand to hold the extra line in place (as you see in the photo above). This makes sure the extra line doesn’t get bound up in the ratchet.
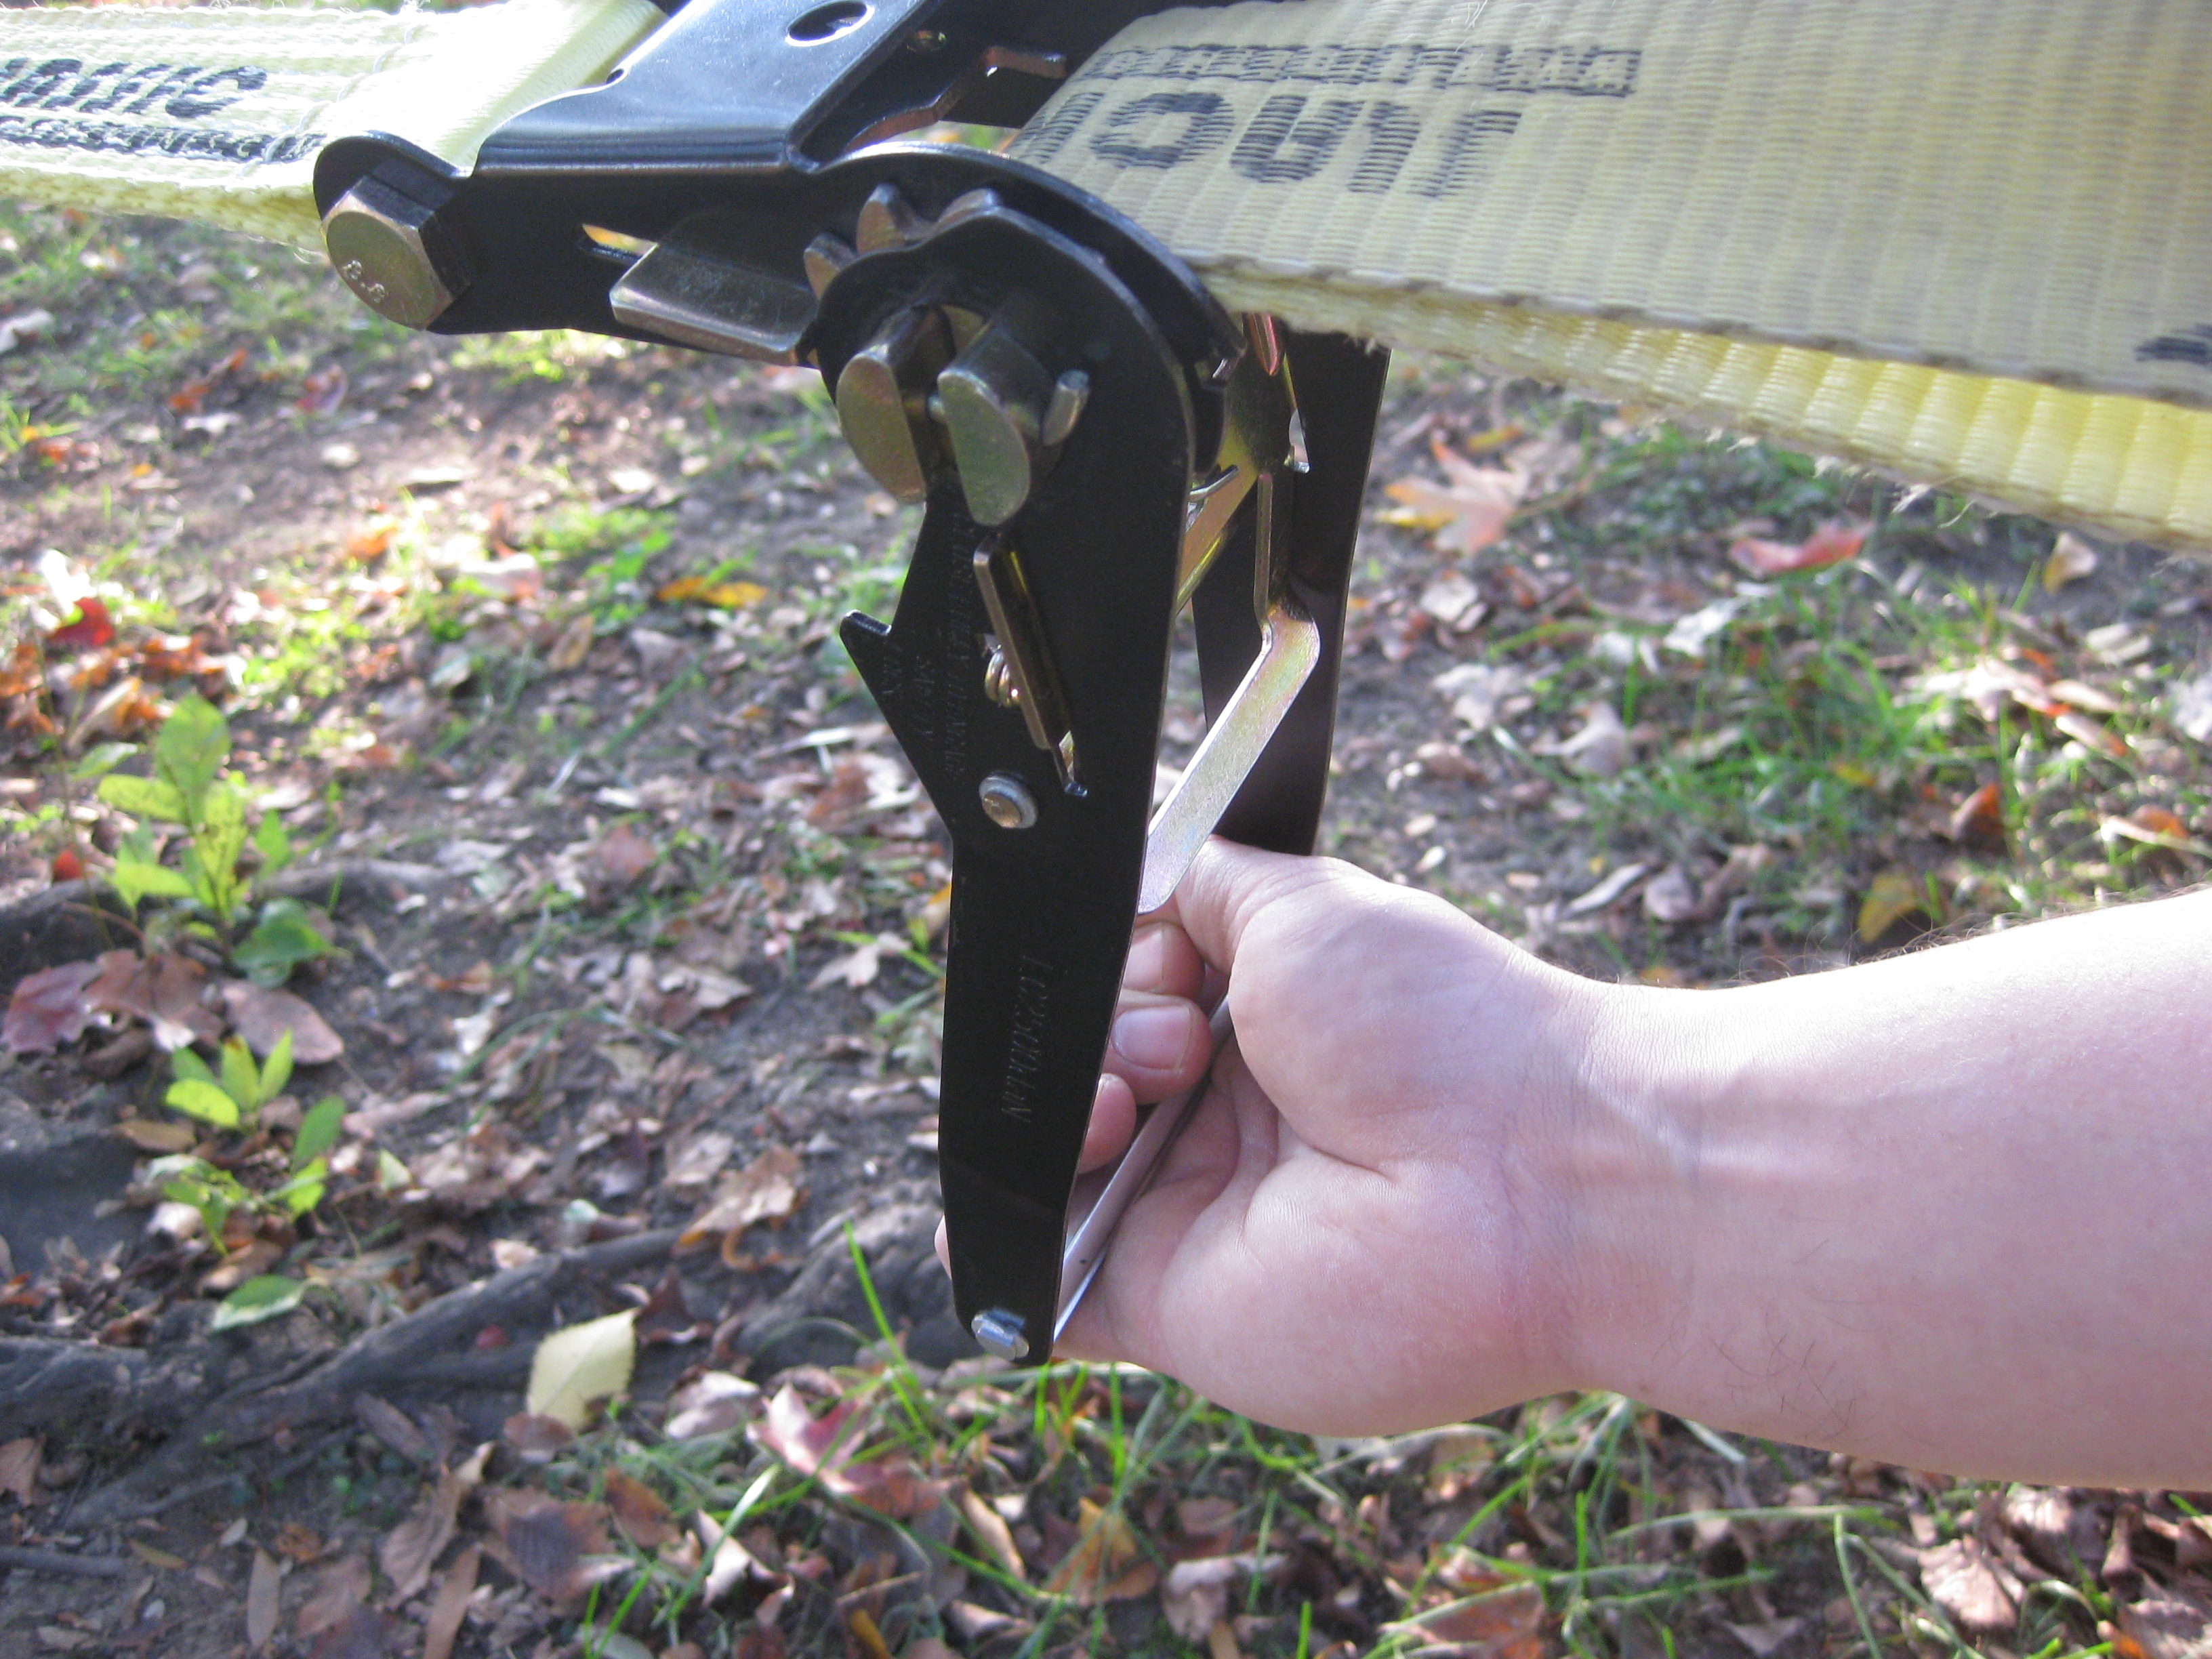
Tighten the line to your liking, and then make sure that the ratchet is fully closed.
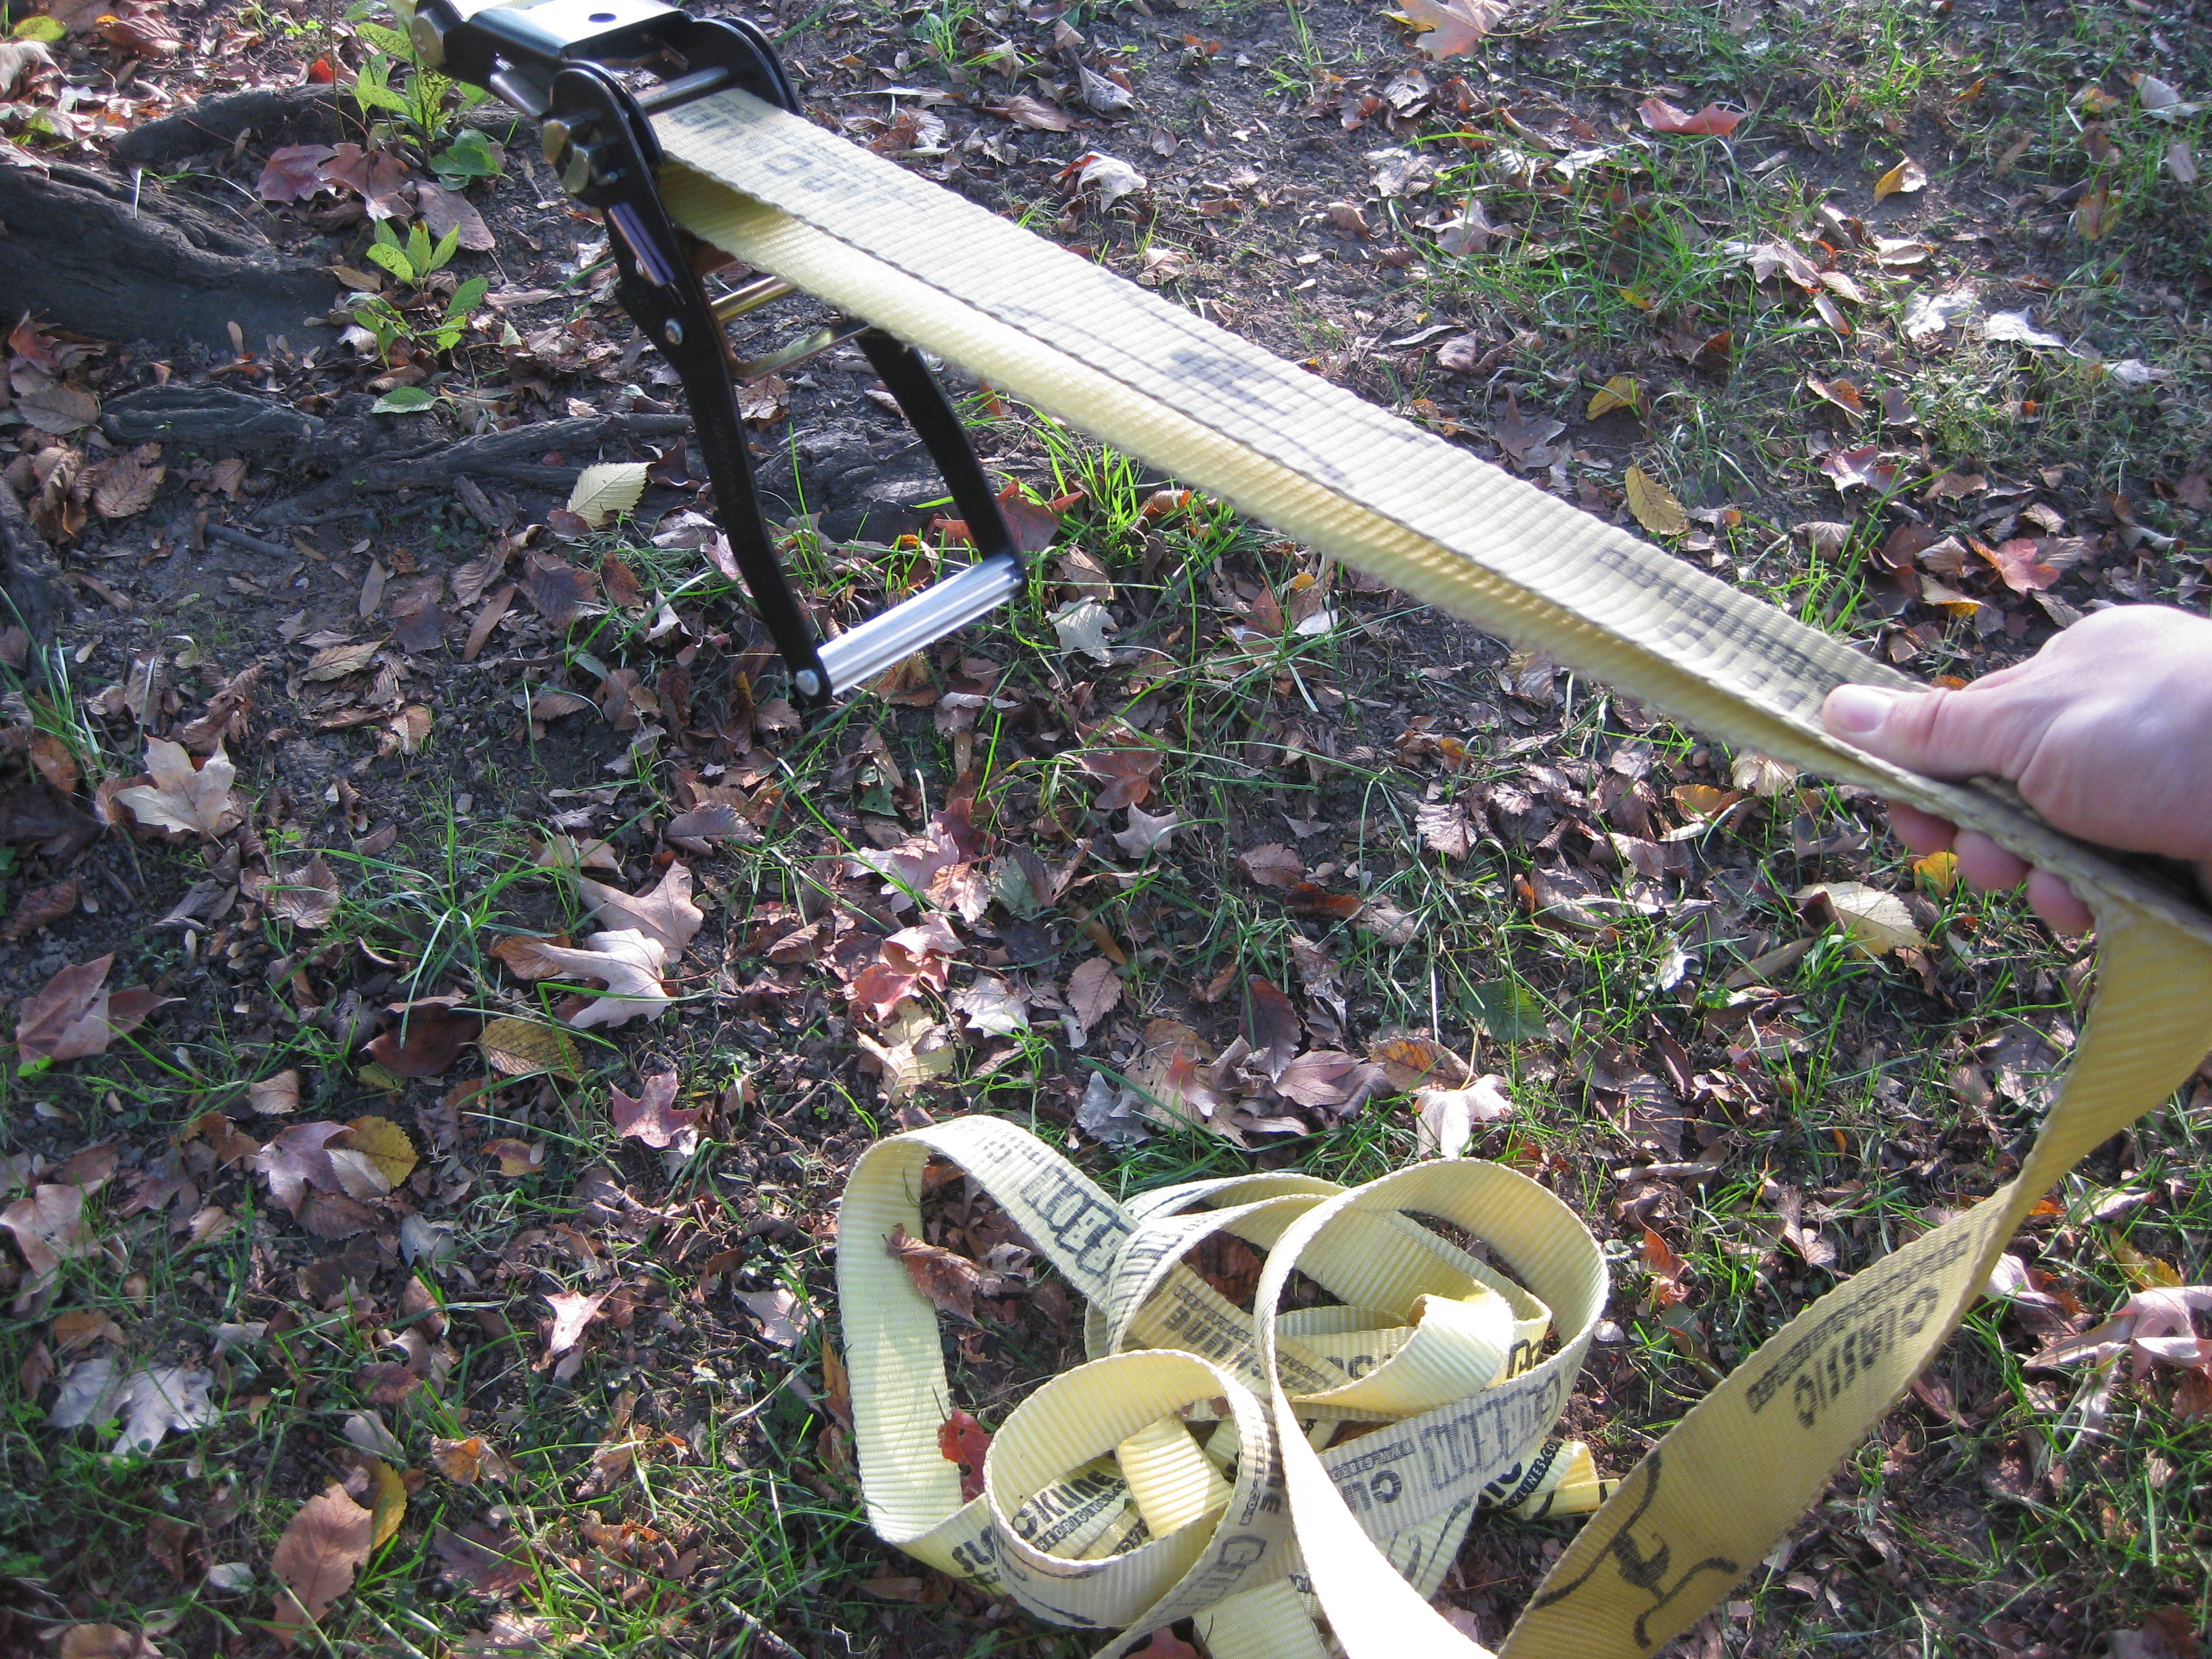
This is a closed ratchet (picture below)
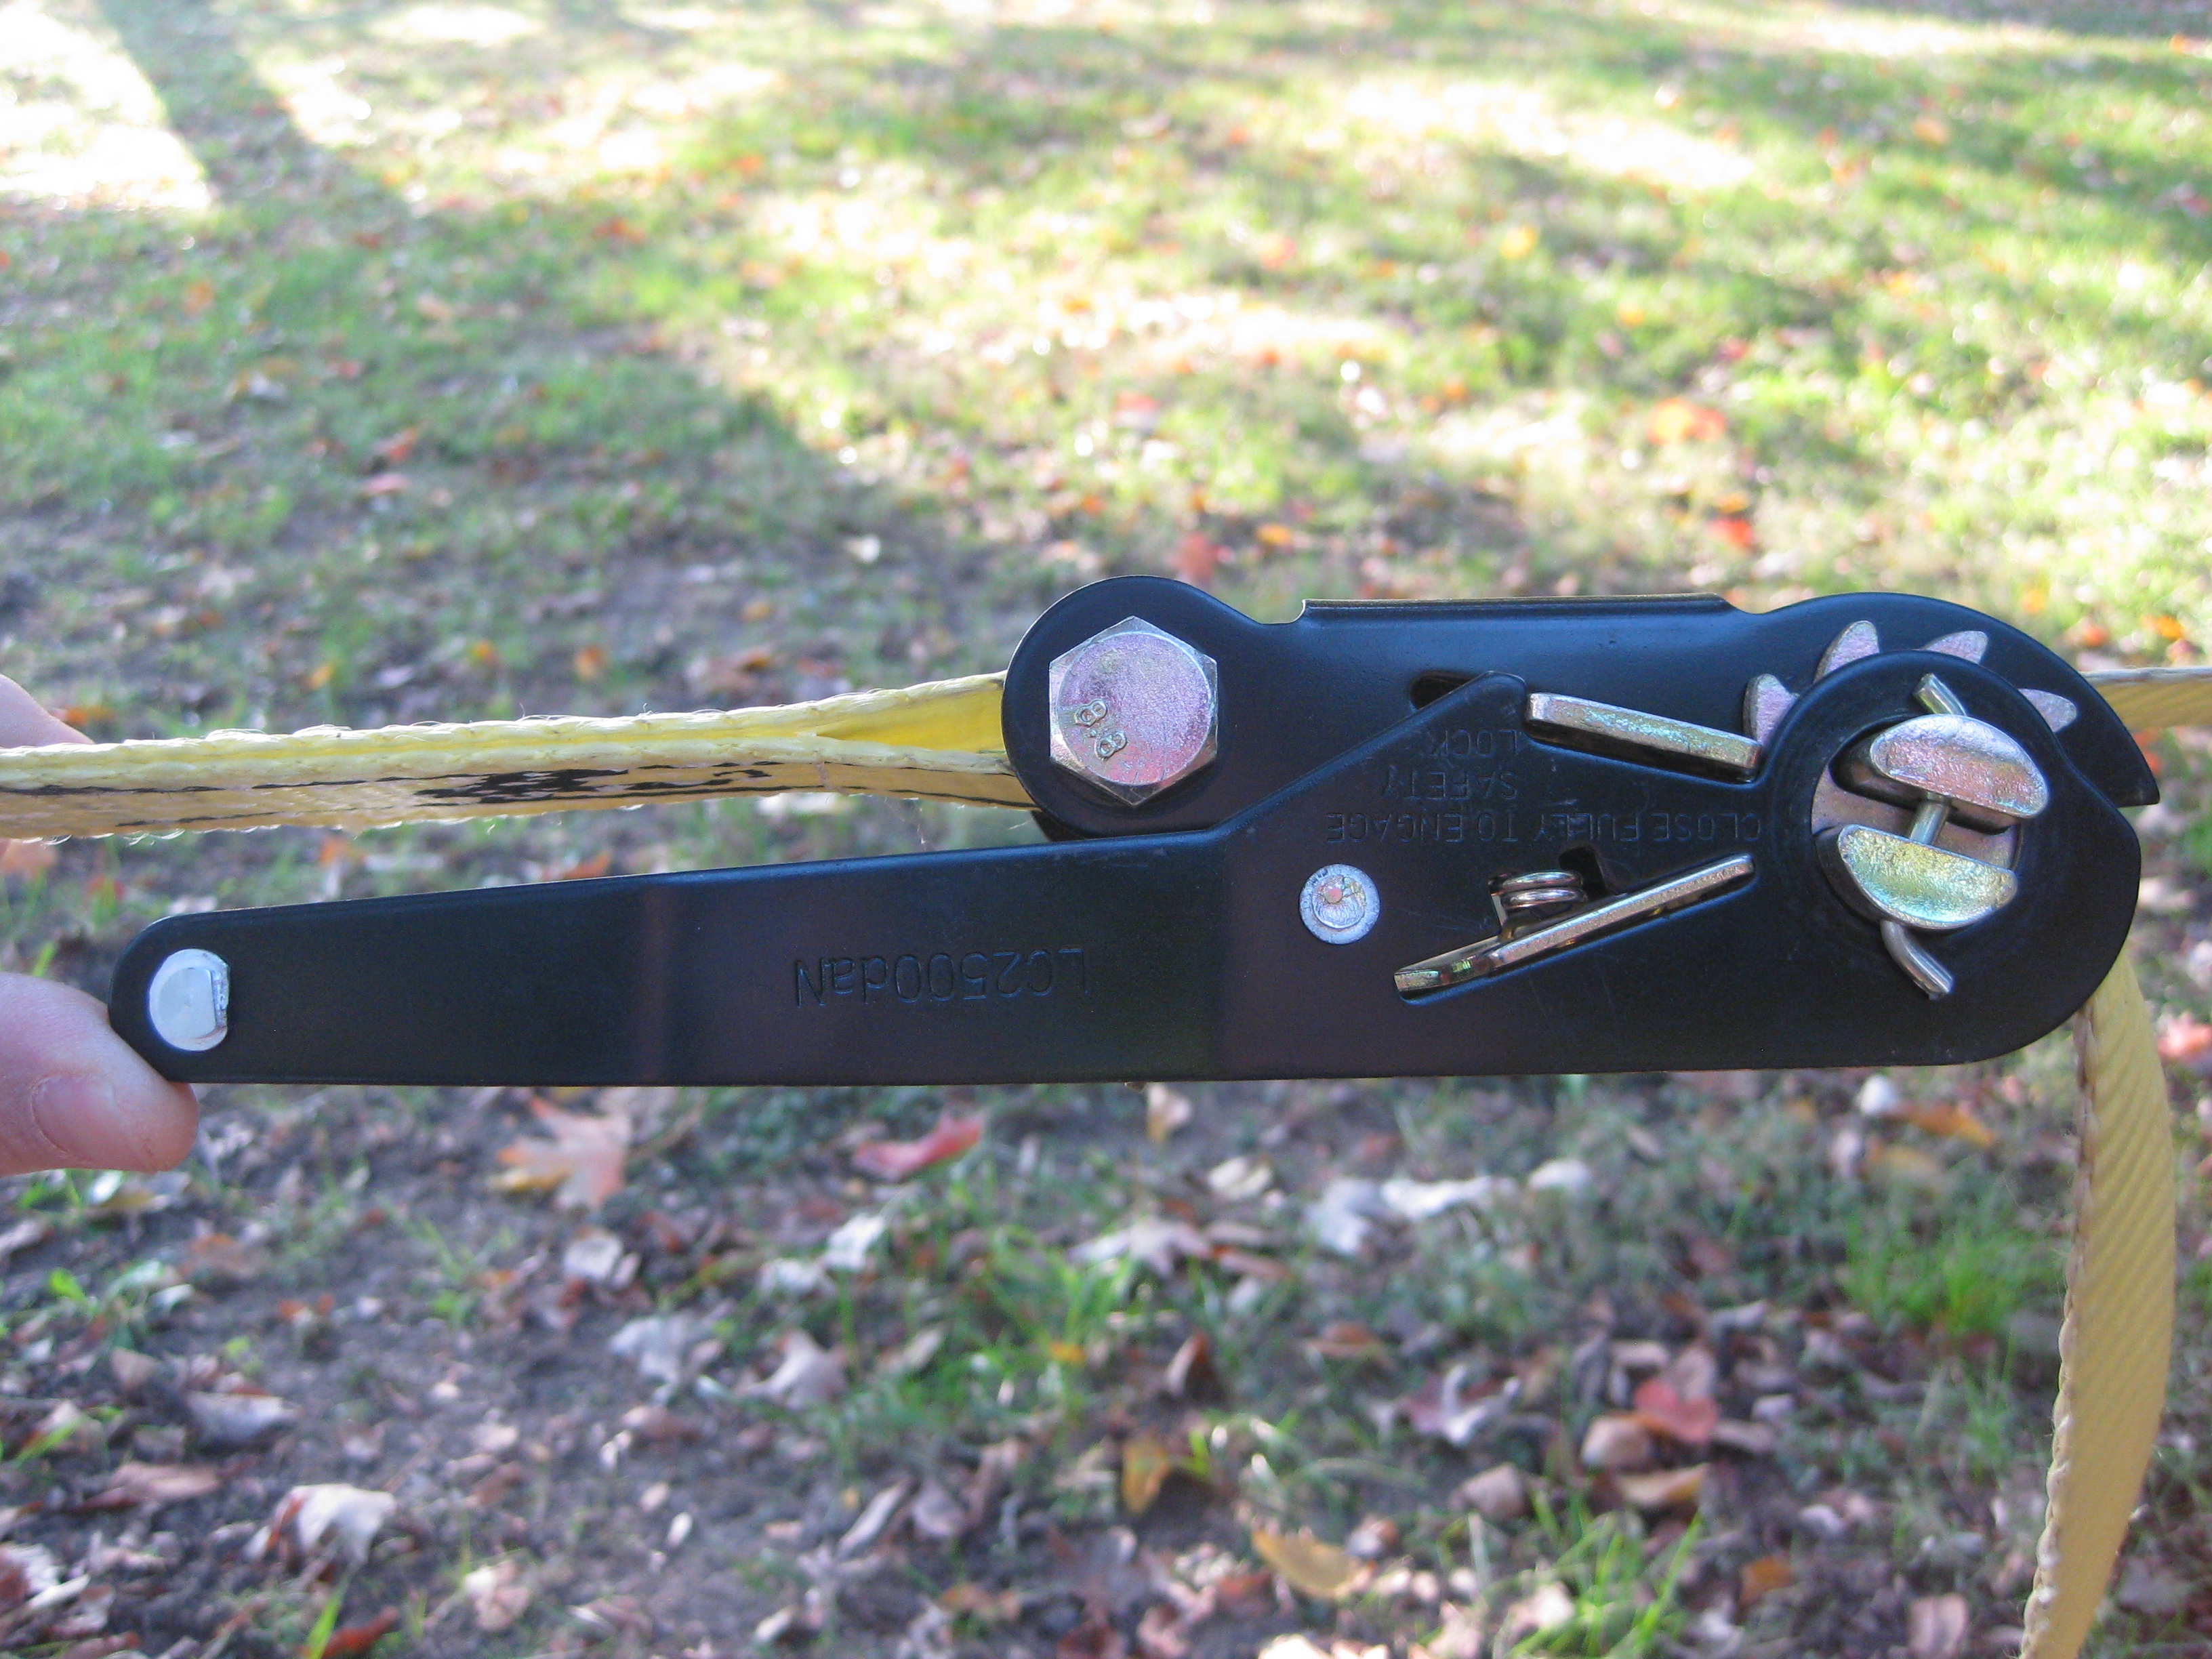
And this is an open ratchet (picture below)

An open ratchet can pop open if you start walking on it, so always double-check your set-up!
If all went well, you should have yourself a slackline that’s ready to go!
